Kasia’s Weekly Threads - Issue 76

Welcoming you with open arms for another week of stitchy shenanigans!
I thought I would open this week with a pic of the backside of one of my projects, why?
Just to keep things real.
Wrinkles and all.
Unbrushed hair.
Tag sticking out the back of a shirt.
Just living our lives as best we can with what we’ve got 🤪
As I write this I’m in my pink tracksuit pants, pyjama top and fluffy dressing gown. Shower and proper clothes will come later. First a letter to my lovely bunch of crafty souls.

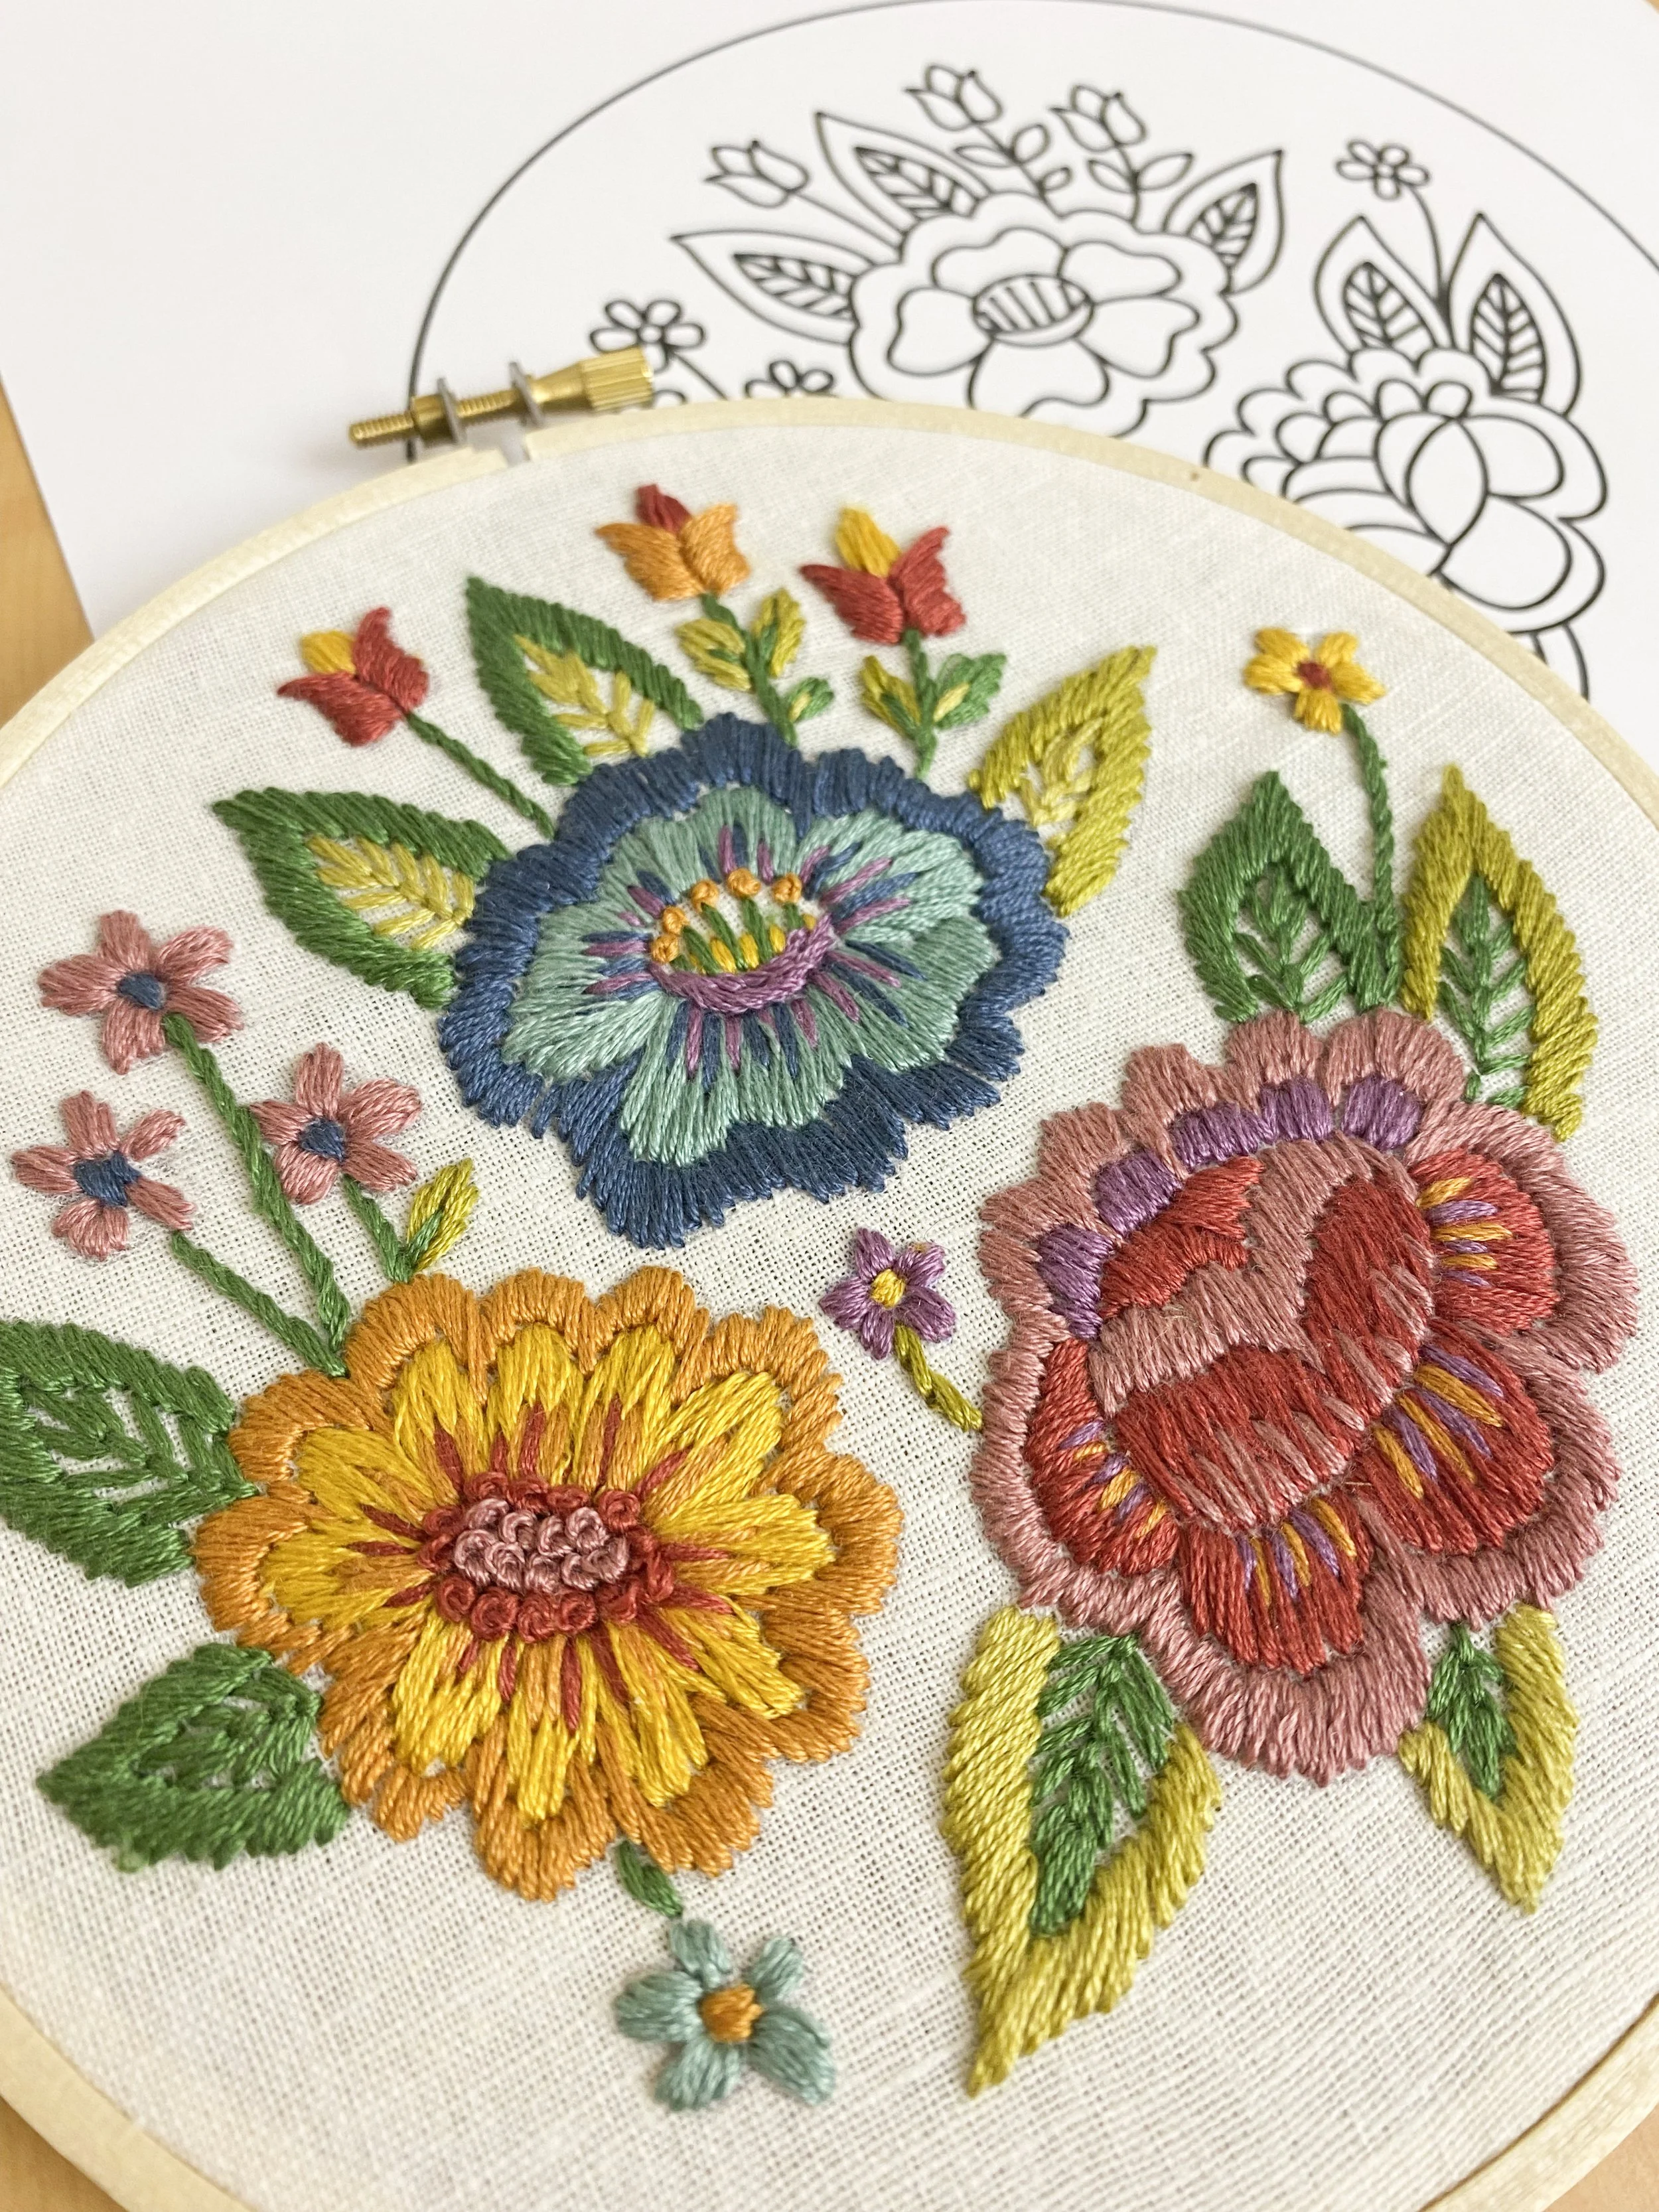
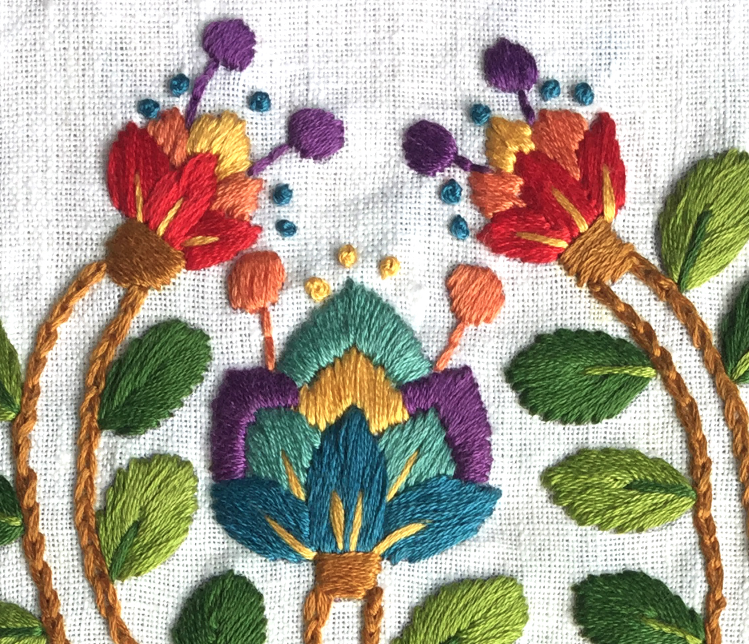
Righty-o, this pic above is the front of the first pic at the top of the page. It’s the “Elizabeth” design and is a small version of traditional Polish folk motifs often seen on women’s blouses on folk costumes. So much of Easter European folk embroidery is done with the satin stitch.
I chose to share this with you today because yesterday I delivered a one day workshop on the satin stitch.
dum-dum-duuuummmmm…
👻 The Satin Stitch 👻
We spent six hours together working only on this stitch.
I can hear some of you already: “ugh! Torture! Satin stitching for six hours! Give me a root canal instead!”
If there is one stitch that gets a reaction like someone was given a mild electric shock it’s usually the satin stitch.
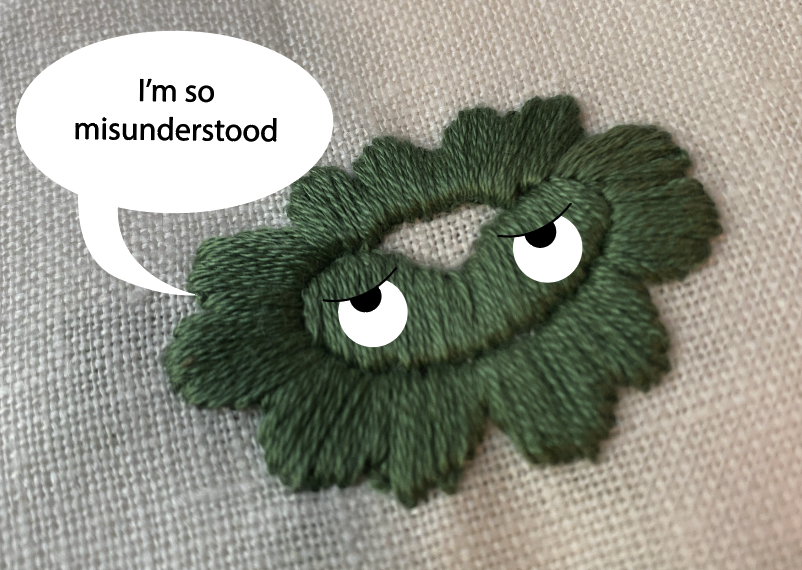
First I’ll share three tips for you to improve your relationship with the satin stitch and then I’ll tell you why it’s good to make friends with it.
Lower your expectations.
That’s right. If you’re not stitching a silk gown for the next coronation, your satin stitch is allowed to have imperfect edges.
Decide the job of the satin stitch.
For me, its job is to fill shapes into solid colours. Think of it like colouring in with markers, line by line. Overall, once finished, the design should look like it’s got lots of lovely filled colourful shapes.
Practice, practice, practice… without pressure.
The more you do it, and just keep filling shapes, the more freely you will start to use the stitch and the more it will start working for you.
Yes there are lots of tips and skills with the satin stitch, but the above three is what I advise everyone who already knows how to do it and they’re just frustrated that it’s not looking perfect.
Let me know in the comments if you struggle with the satin stitch and what your biggest issue is.
If you’re one who actually enjoys the satin stitch I sifted through my PDF patterns and found these three that will give you the fun you’re after.
Now… why is it good to know the satin stitch?
Because firstly so much of folk embroidery is covered with this stitch. Especially across Eastern Europe. And if you love that style and want to stitch those designs you’ll need to make friends with this stitch.
Secondly, once you get a grasp on it and start enjoying it and using it freely, it really is just like colouring in. You’ll know how to fill shapes in a variety of colours and have fun doing so.
So get practicing!
And now… as promised last week…
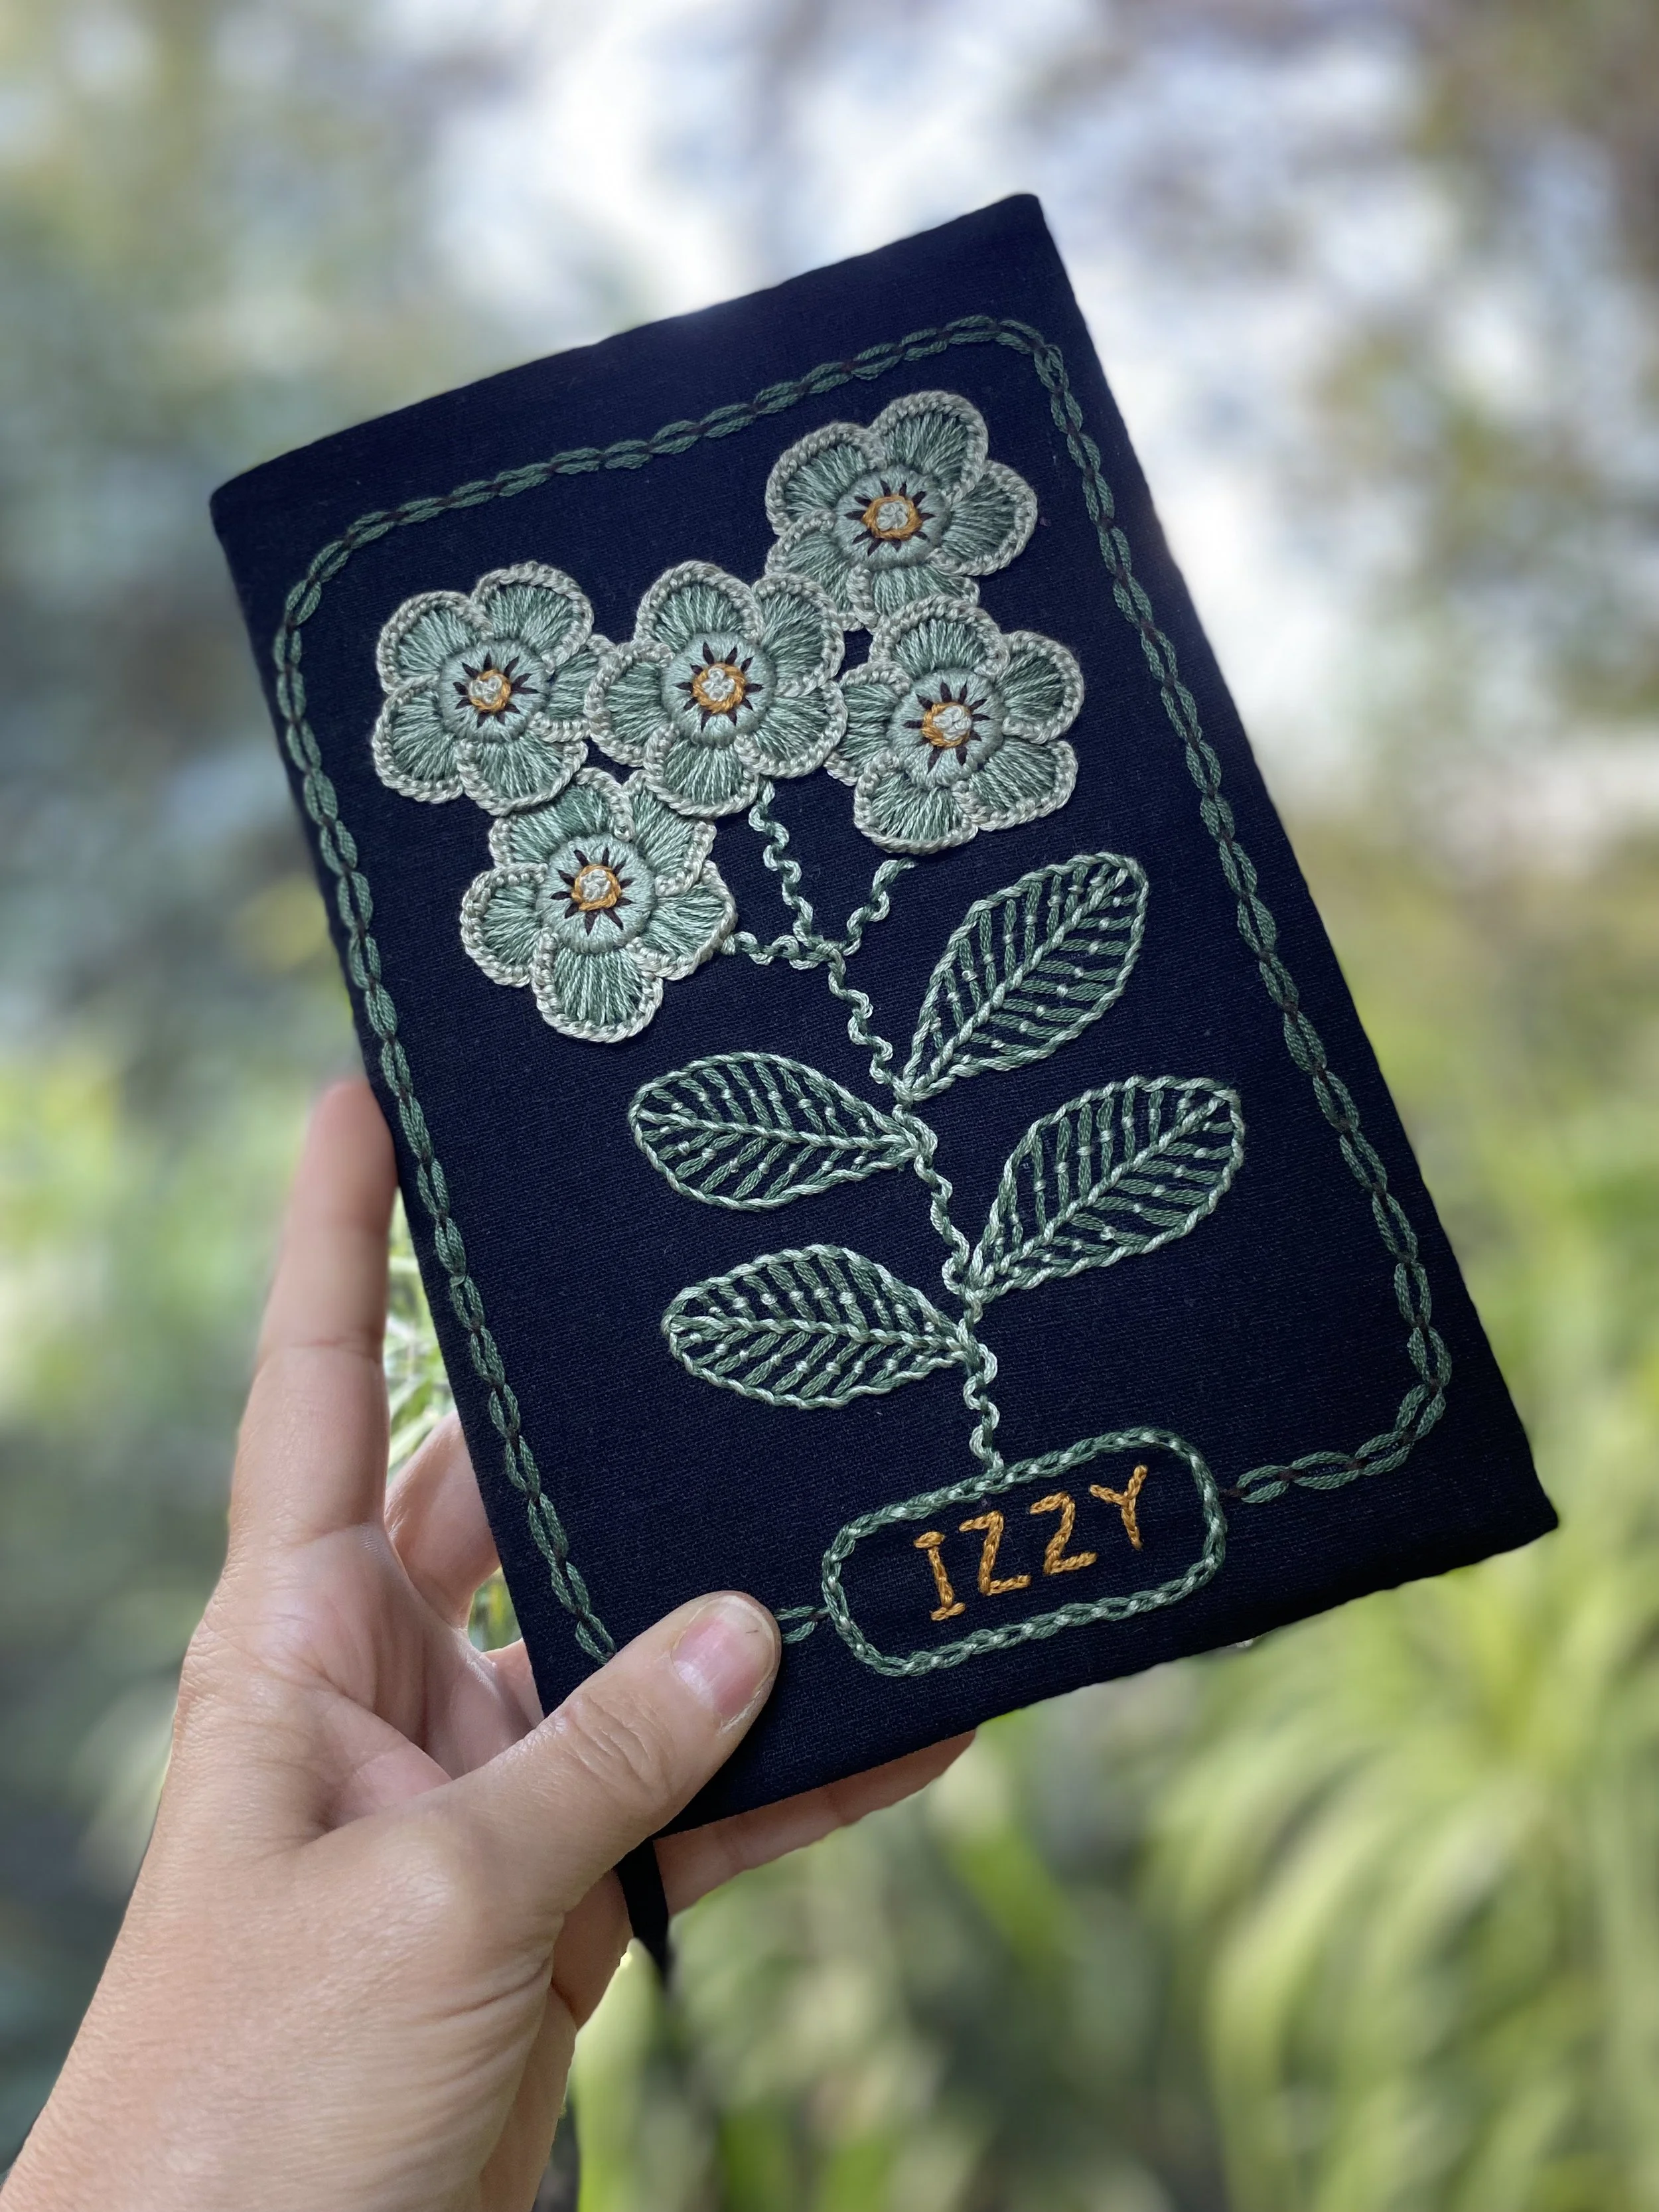
Here is the journal cover I made for my daughter Izzy where I will start writing down things I remember about her. They will be short stories from her childhood as they pop in my head. Rather that writing a chronological story about her (and Stanley of course, he will get his own journal too!) I thought it would be easiest to jot down one paragraph stories as they come to me. That way both kids will have lovely journals to read and to keep.
This design was our September pattern in The Wednesday Tribe.
We focused on the buttonhole stitch which I decided to make a little more challenging by:
blending colours together
overlapping shapes
outlining with a whipped buttonhole weave over the top to create those edges.
I don’t actually know what else to call it…🤔 but basically the buttonhole stitch has an edge and then we added another colour over that edge in a buttonhole weave. Geez I’m not explaining it well. Leave me a comment if it doesn’t make sense, and next week I’ll make a video to show you what I mean.
Close Up
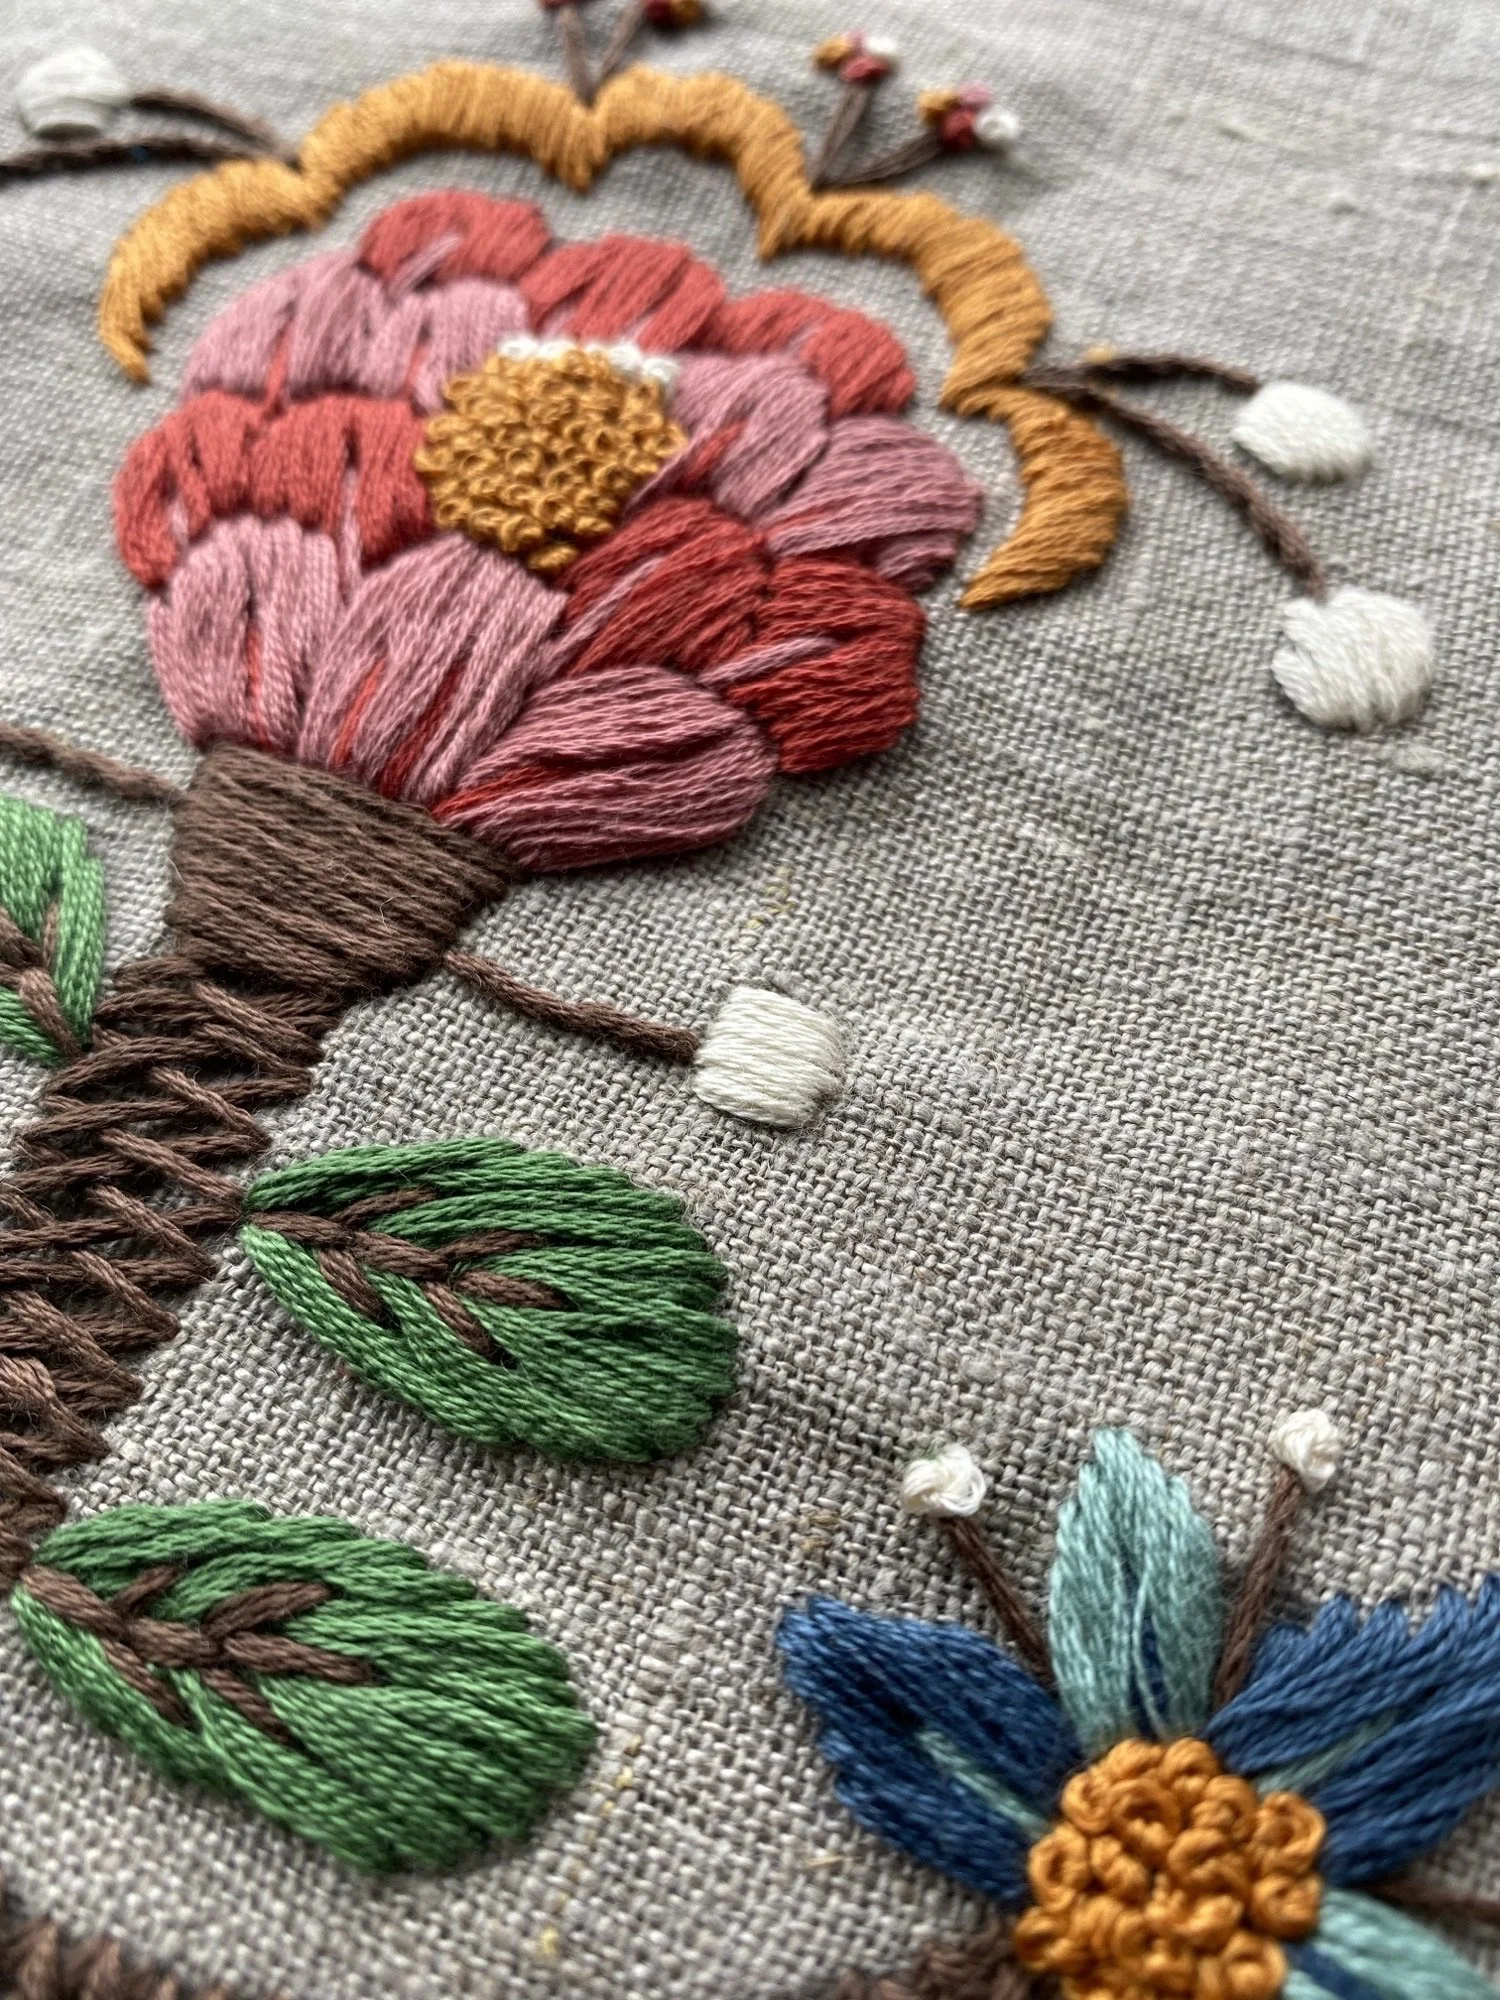
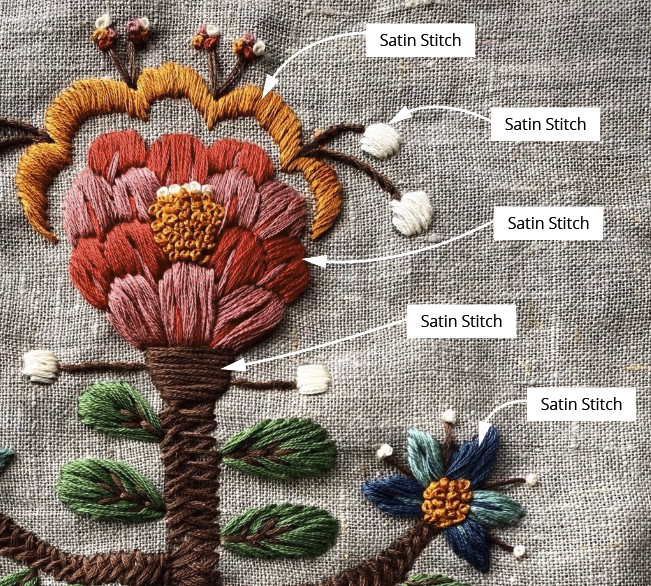
The Satin Stitch on “Camila”
Will you just look at those textures?! Those puffy, soft petals. It’s unbeatable getting these results with a needle and trhead.
First of all I always use all six strands for my satin stitches (actually nearly all my stitches).
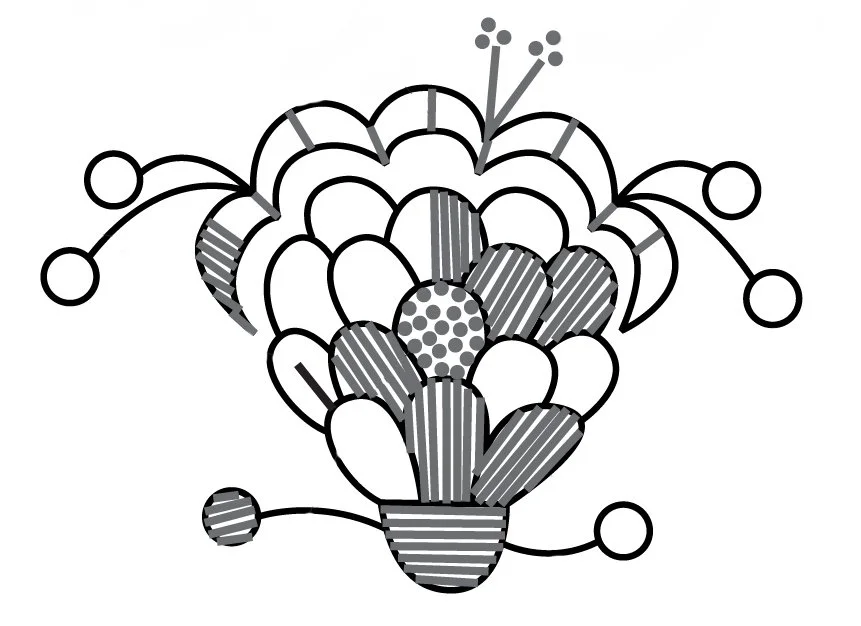
Below I included a diagram so you can see how the shapes break up individually. Each petal was stitched one at a time following the direction of the lines in the drawing.
That orange scalloped edge/border at the top of the flower was first broken up into sections (see diagram below) and then each section was stitched starting from the left moving to the right. Much easier to keep the stitches moving evenly across that weird shape when you break it up into smaller chunks.
Maker Of The Week
- PHILIPPA BLAXIL -
You know what I love…?
(Pretzels dipped in chocolate)
I love it when students, TWT members or customers share with me their own versions of my patterns, the discoveries they made, the things they learned along the way. Ultimately this is what i want for everyone that I share my work with; for you to find your own self inside a pattern.
🪡🧵
This happens in various ways;
you change colours to ones that match your wardrobe.
you change the stitches from the ones in my instructions because you prefer to use different ones (or you hate the satin stitch 😂) .
you discover a new way of doing a stitch.
you modify the design to suit your project.
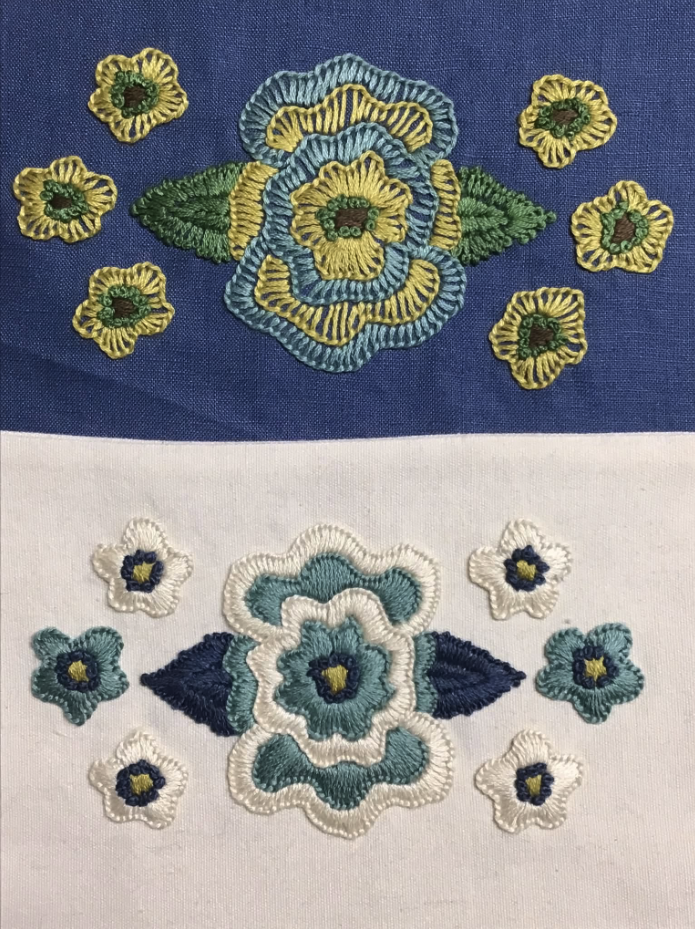
The below embroidery is by Pilippa who shared this in our Facebook group a little while ago. She said:
“I have had such fun with a small version of July’s design. I quickly did a version on a scrap of blue linen before taking my time with a small heavy cotton off white bag. It’s interesting to see how different they look on different coloured backgrounds and tighter stitches.”
From The Tribe
And the winner is…
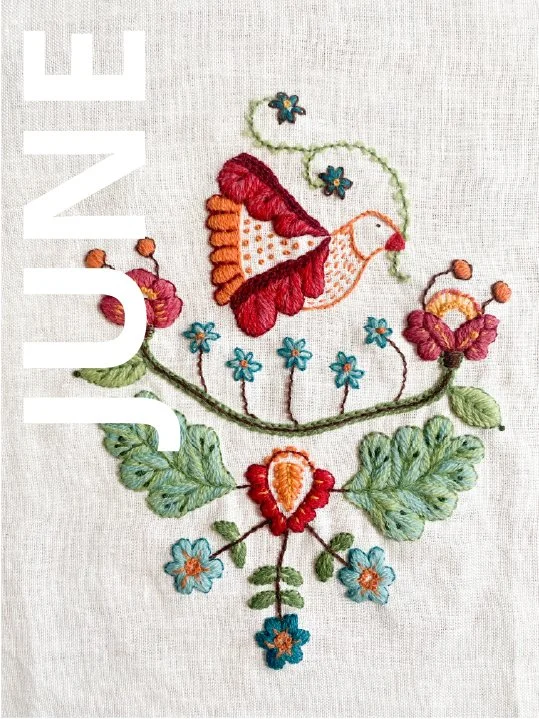
Miss June! 🥇
I think I counted a total of about 300 votes, so I figured that’s enough to give a real and honest picture of which design was a favourite, and not just my best friend voting ten times.
If you have a look at last weeks blog post that has the poll at the bottom of the page as it currently stands February and June are both on 16% but when I add the numbers from Instagram and FB voting in a separate spreadsheet it shows June a clear winner.
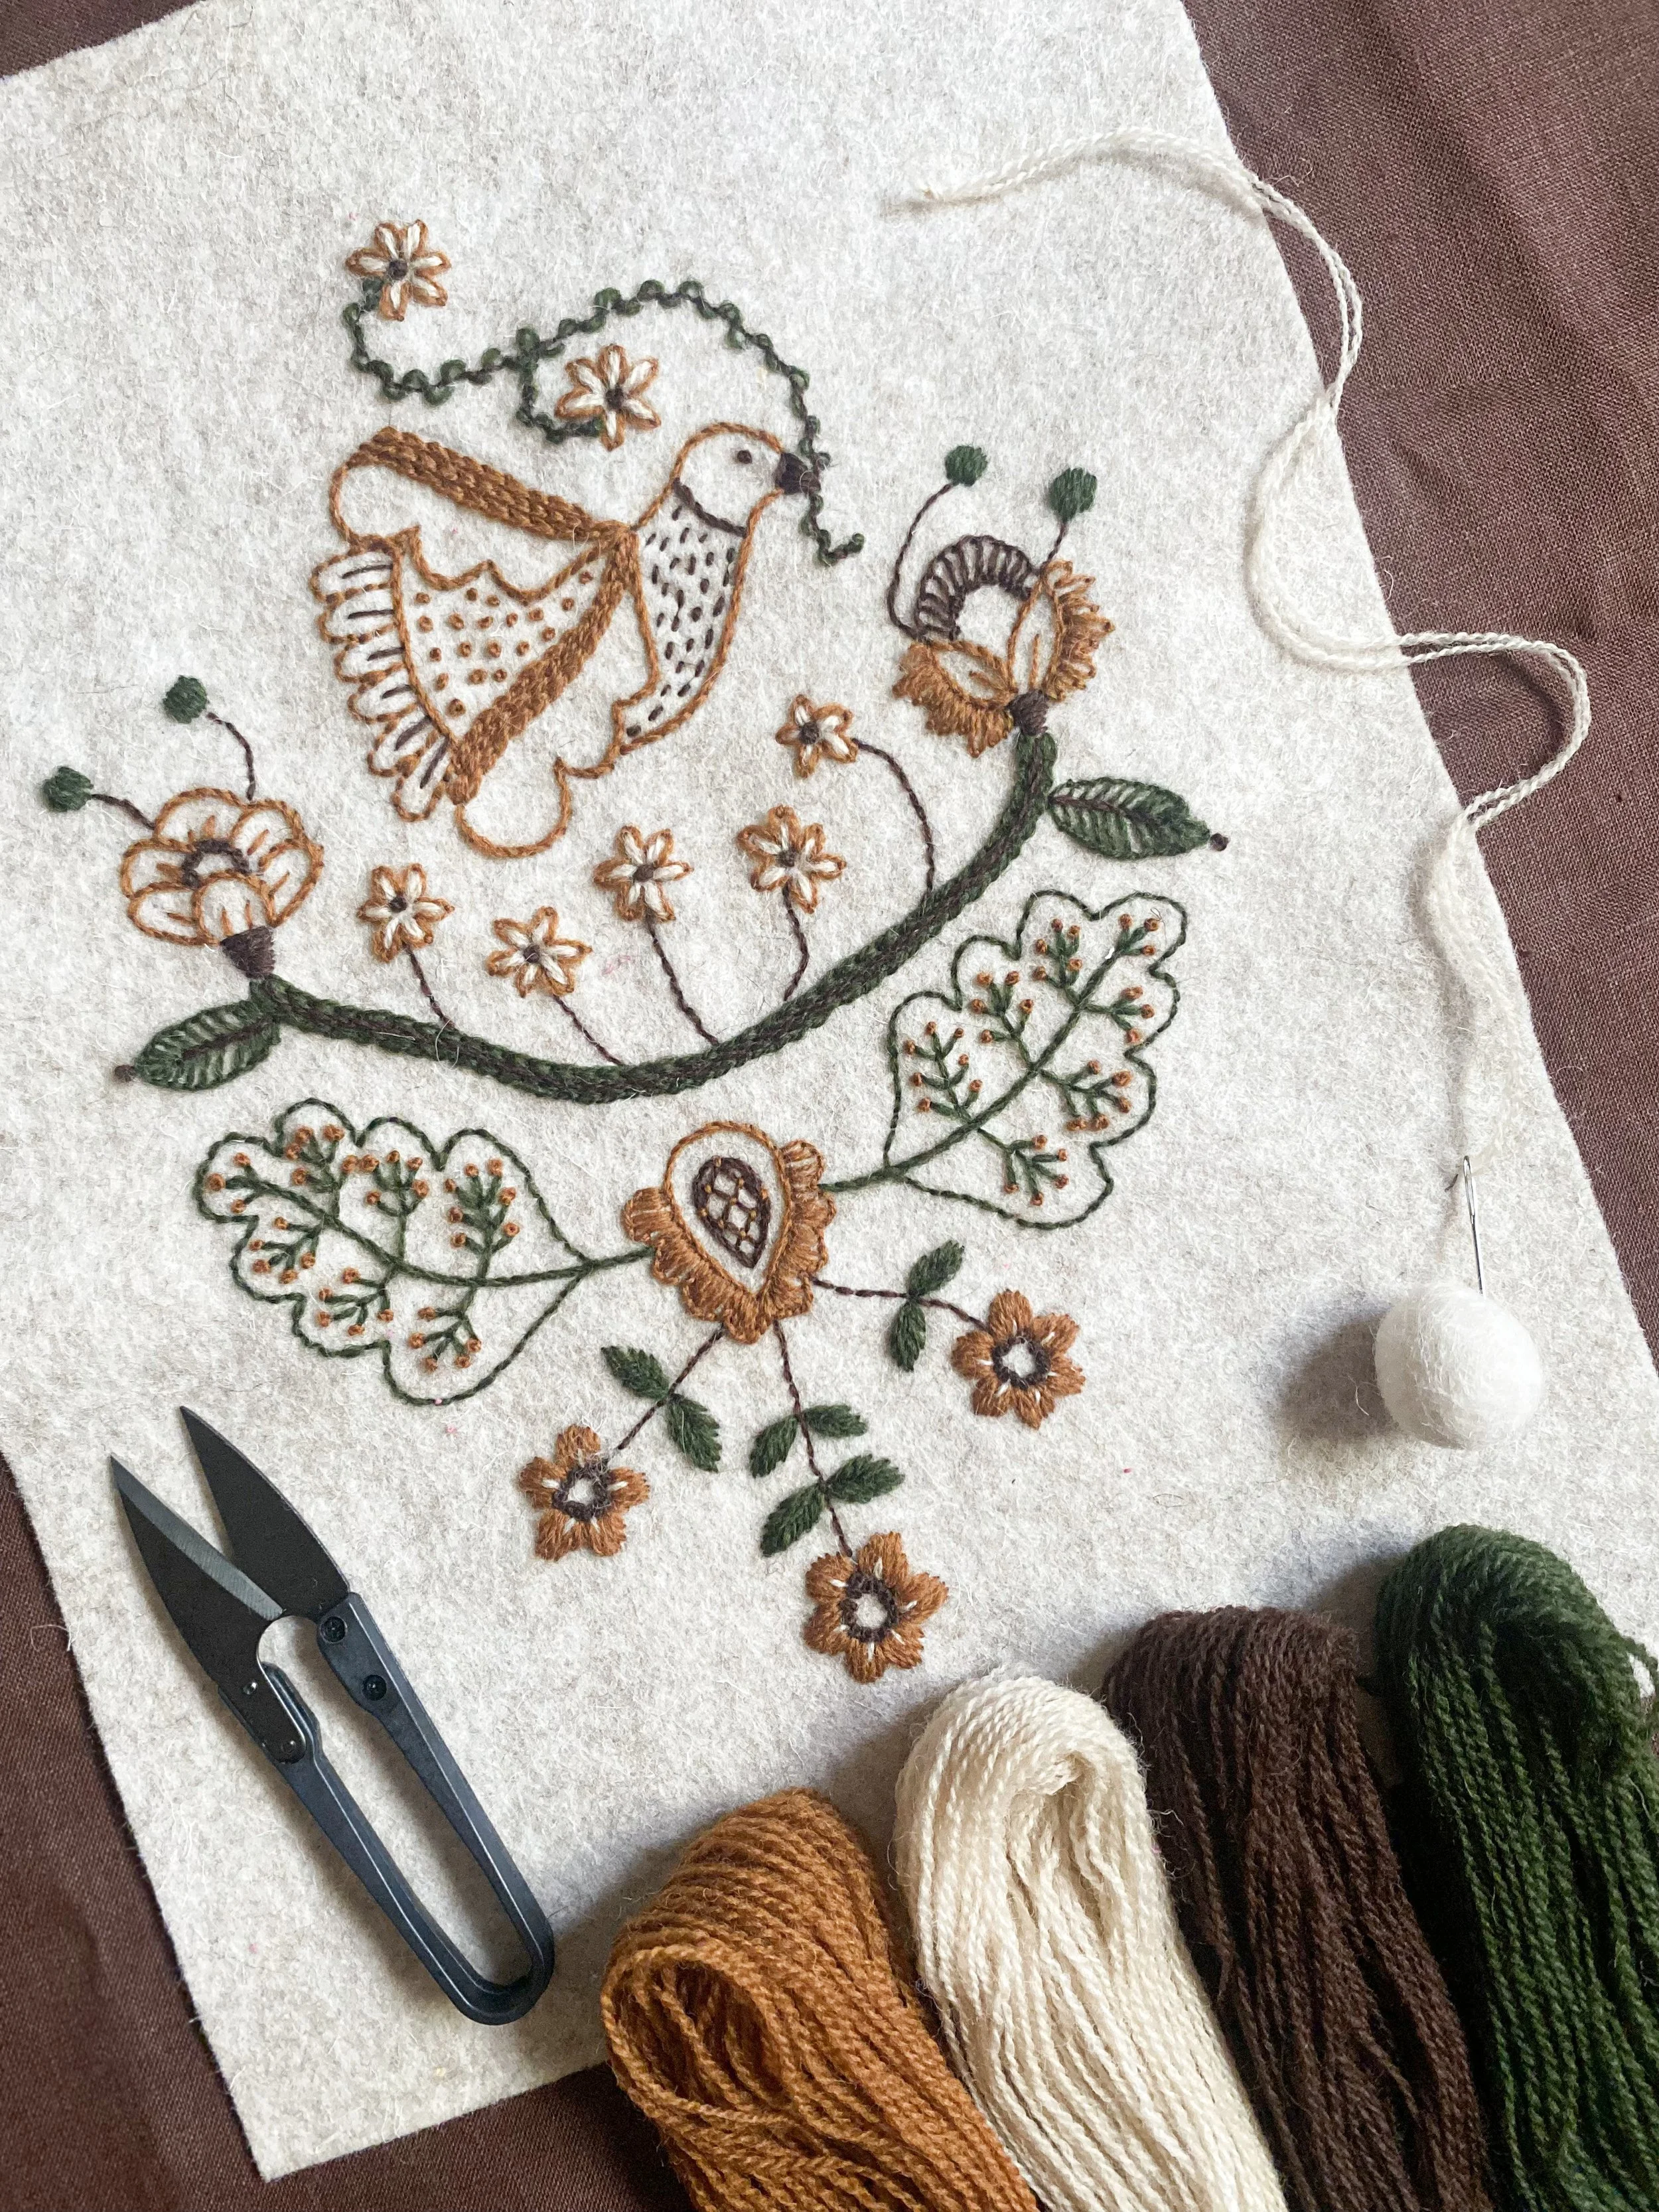
And here below is the second colour version of this design. Stitched in Appletons wool like the colourful one above, this one was stitched onto an off white piece of wool felt.
Check out how the stitches changed when I changed colours. When you use fewer colours than the original design you often have to change a few stitches because things like layered colours won’t work anymore.
And don’t forget… although… as if you need reminding I’ve been banging on about this sooo many times….
The Wednesday tribe opens next Friday for a fresh batch of eager stitchers.
I’m building a brand new membership area on my website. It will be super easy to use and I’m now adding a past pattern shop available just to TWT members.
Old patterns will be added to the members shop six months after their original release and will stay in the shop for one year then be retired.
From next Friday, the January - April patterns will be available. Then in November the May pattern will be added, then in December the June pattern will be added and so on.
More on this next Friday.
Till next week!
Phew! I am cooked!
I hope you enjoyed this weeks post.
I’ll spare you a pic of me in my dressing gown and trackie dacks (that’s Australian slang for track pants). Instead here is a photo from last Sunday as we celebrated Father’s Day with Johnny.
Sending you hugs, love, gratitude and chocolate pretzels! xxx
Kasia