
Print Onto Your Fabric At Home
Here’s another way you can put a pattern onto your fabric easily.
There are many different ways including tracing, using carbon paper, using Stick & Stitch sheets, direct freehand drawing, using a heat transfer pen and other methods.
This method is suitable for:
A pattern that is no bigger than an A4 sheet of printer paper with at least an inch away from the edges.
Anyone who has an inkjet printer at home.
Patterns with fine line work because the lines stay on the fabric and have to be covered by the stitching.
Here’s a step by step:

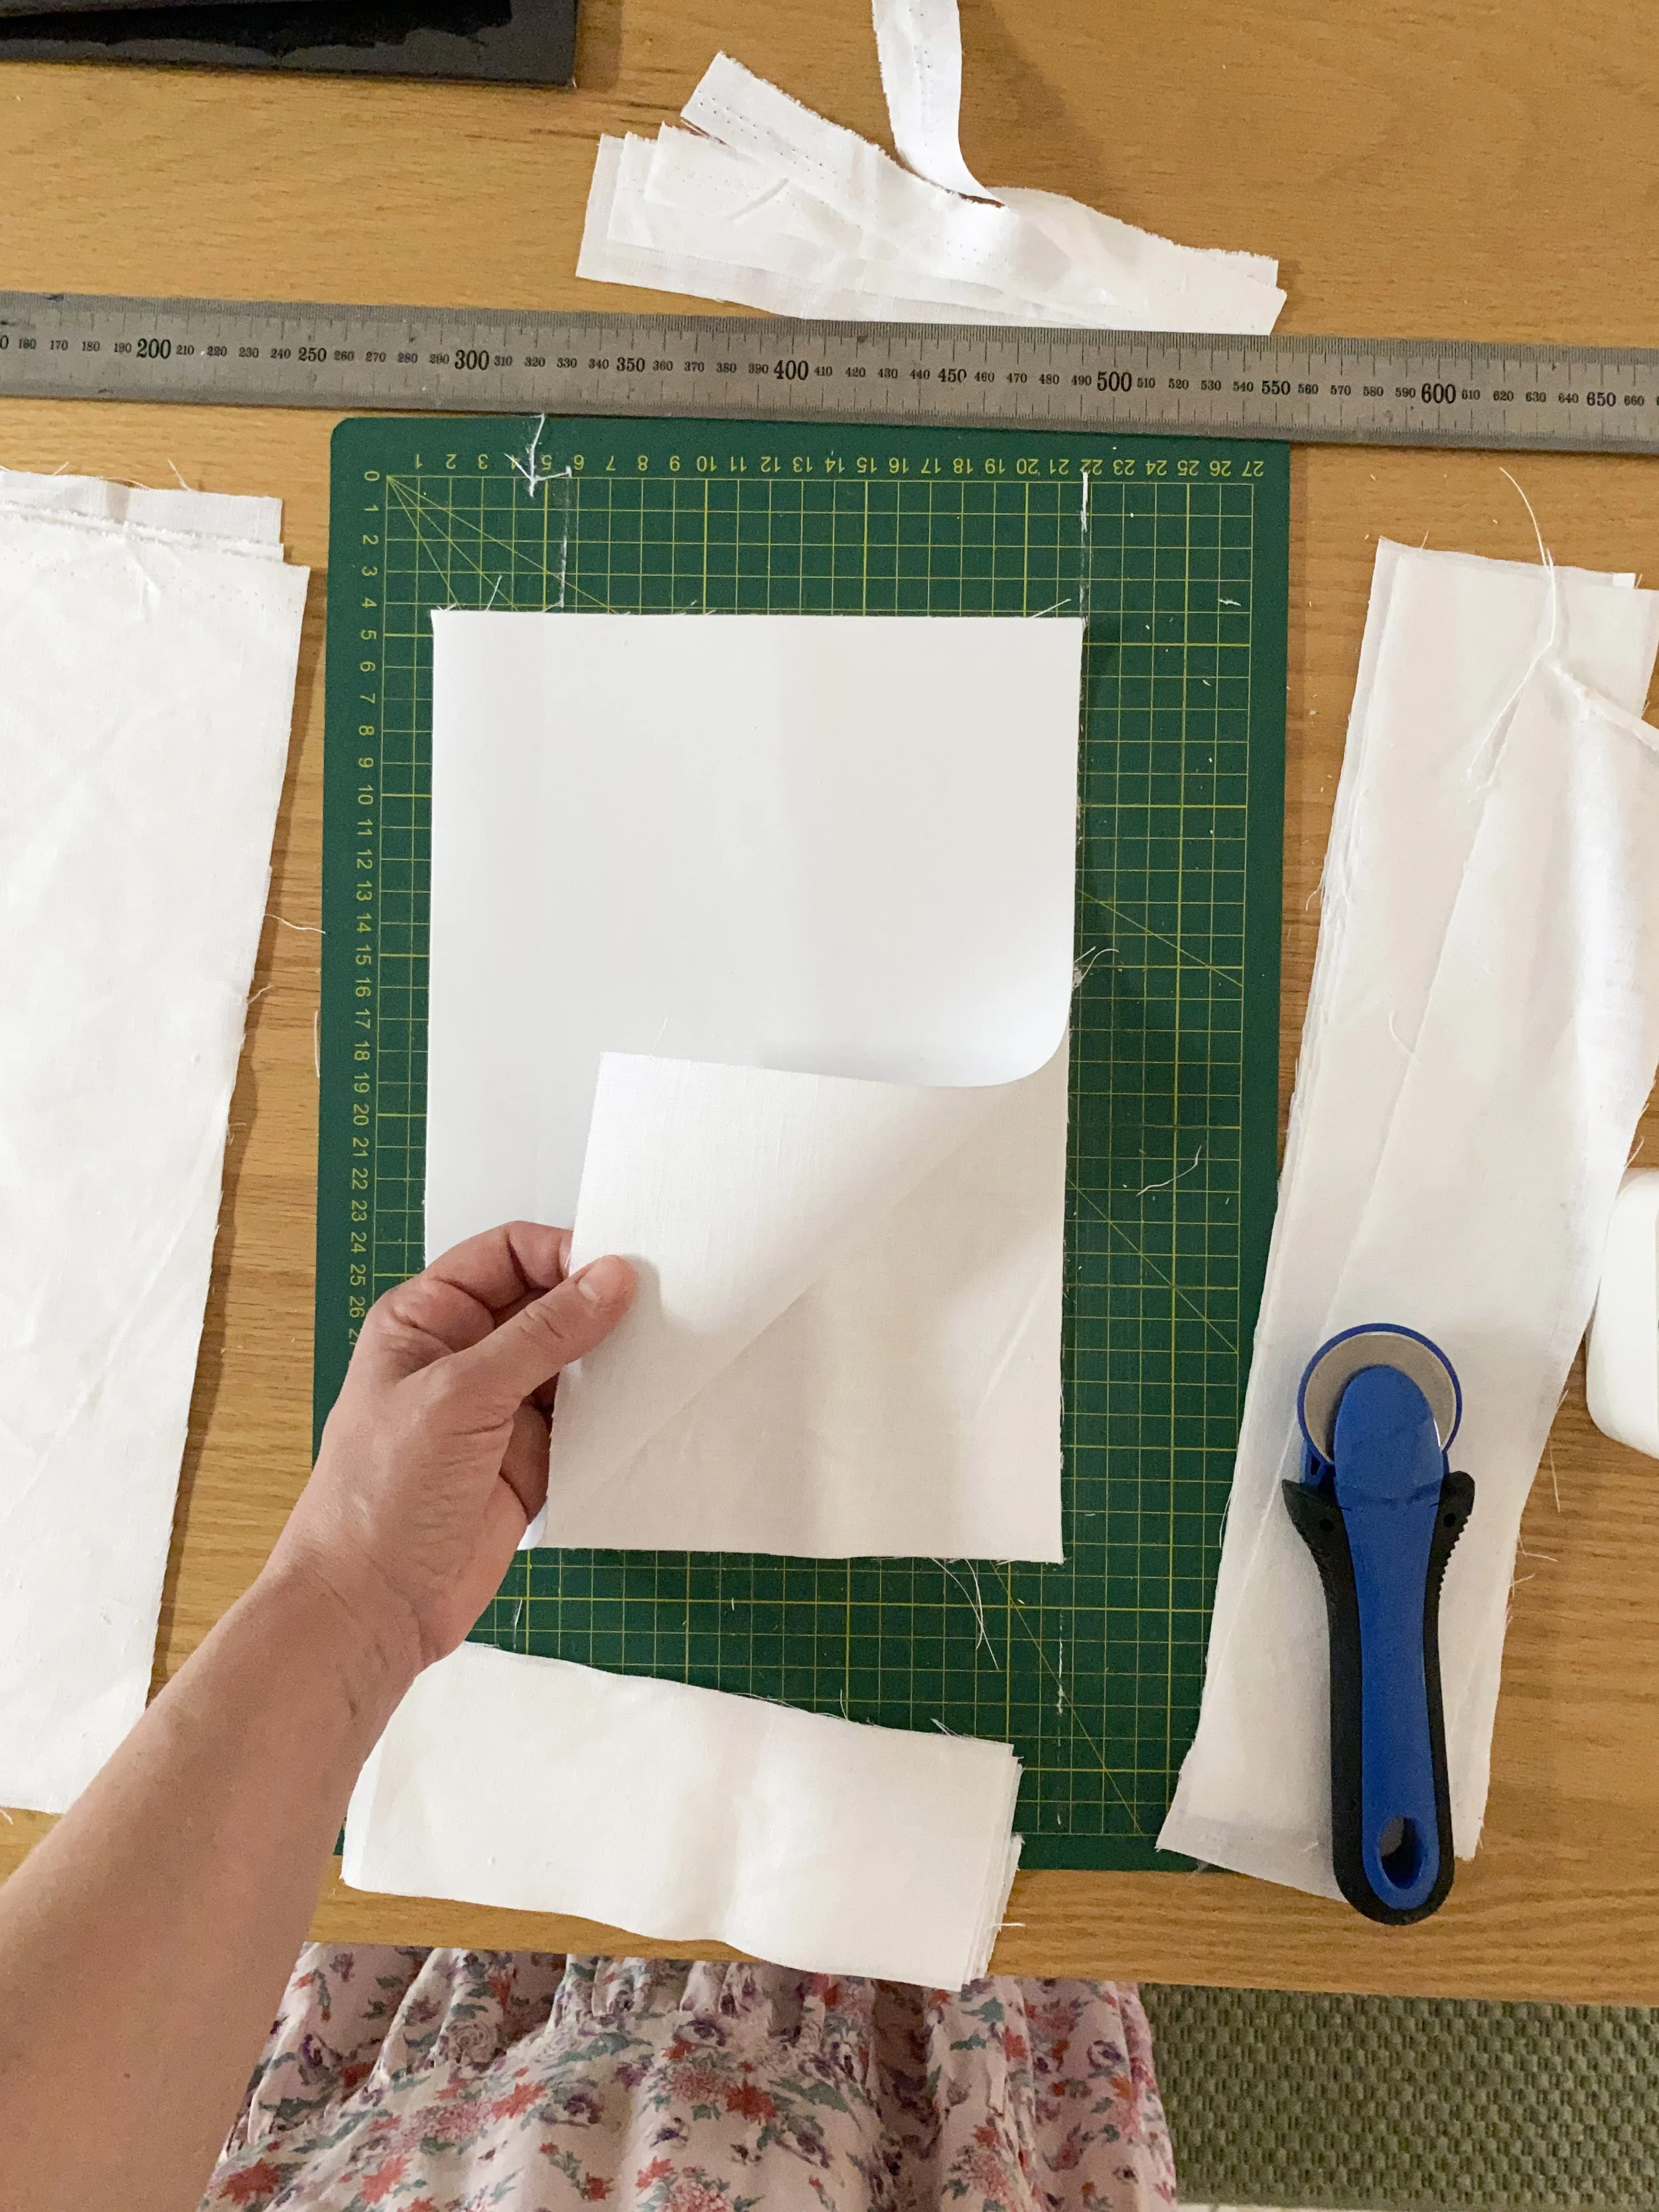
1. I used A4 size PPS shipping labels. You can get a pack of 100 from Officeworks in Australia.
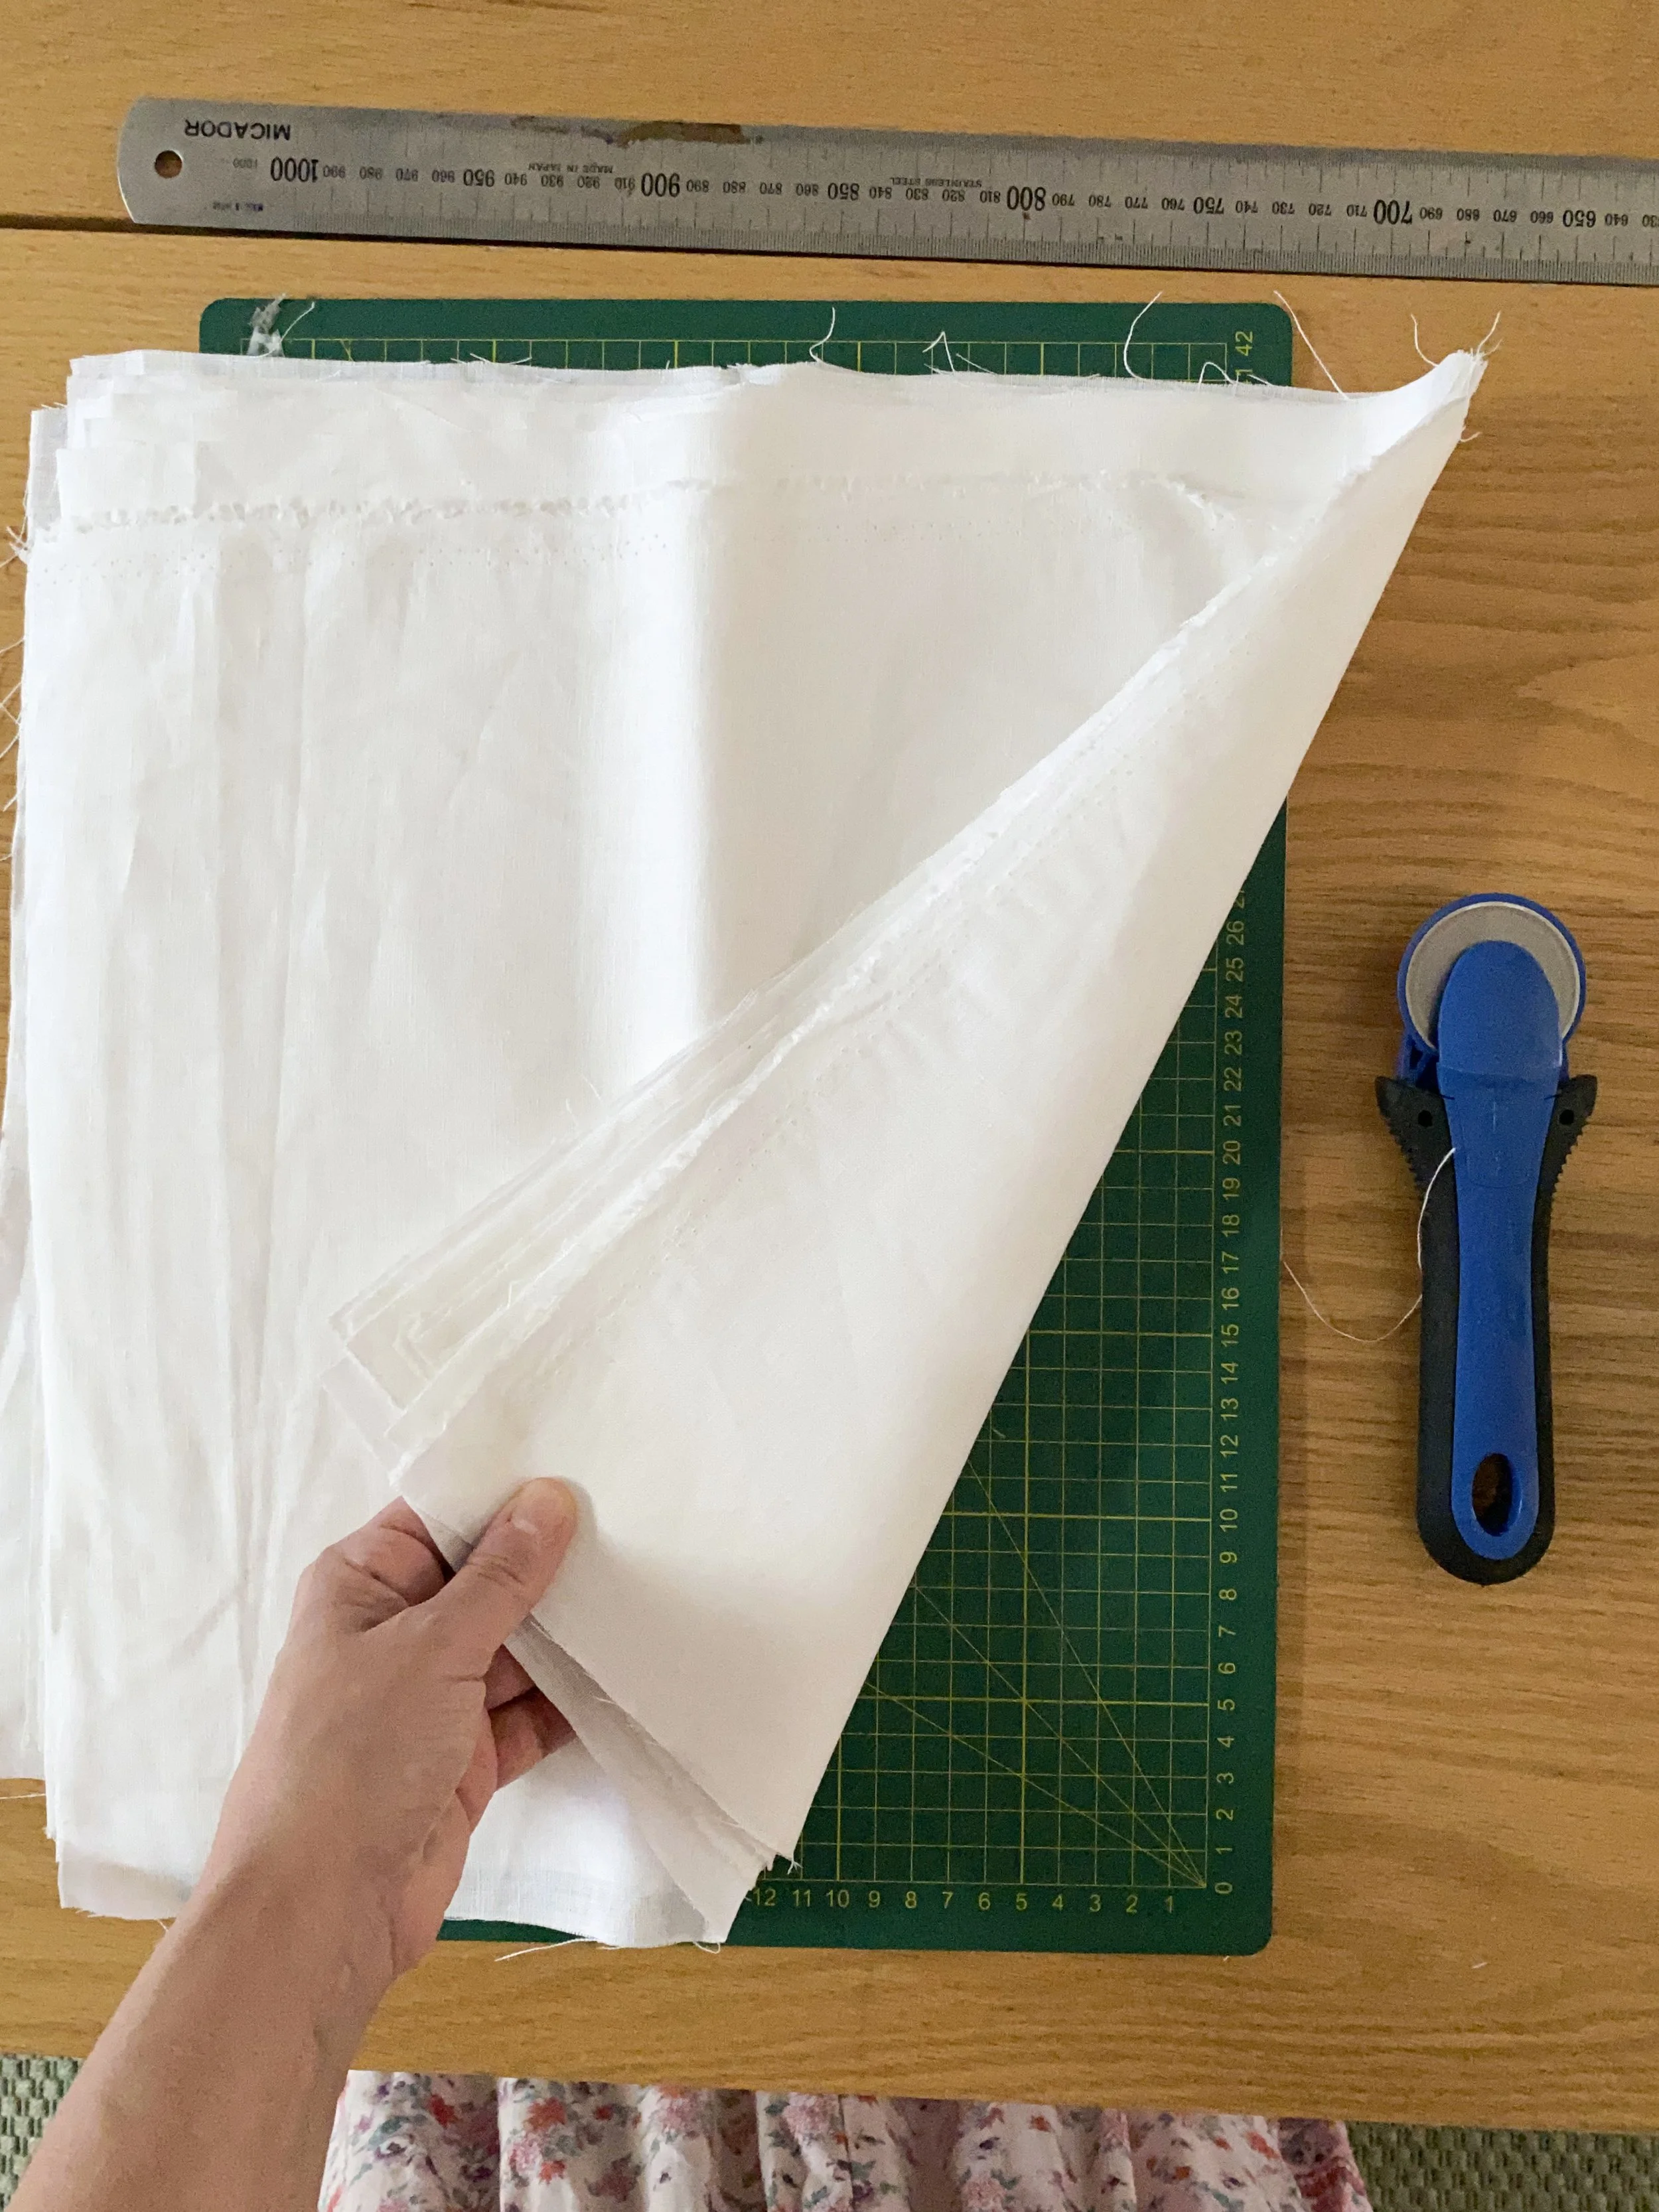
2. I had a pile of roughly pre-cut fabric which I hadn’t used in ages. The fabric was bigger than the A4 size so it can be trimmed.
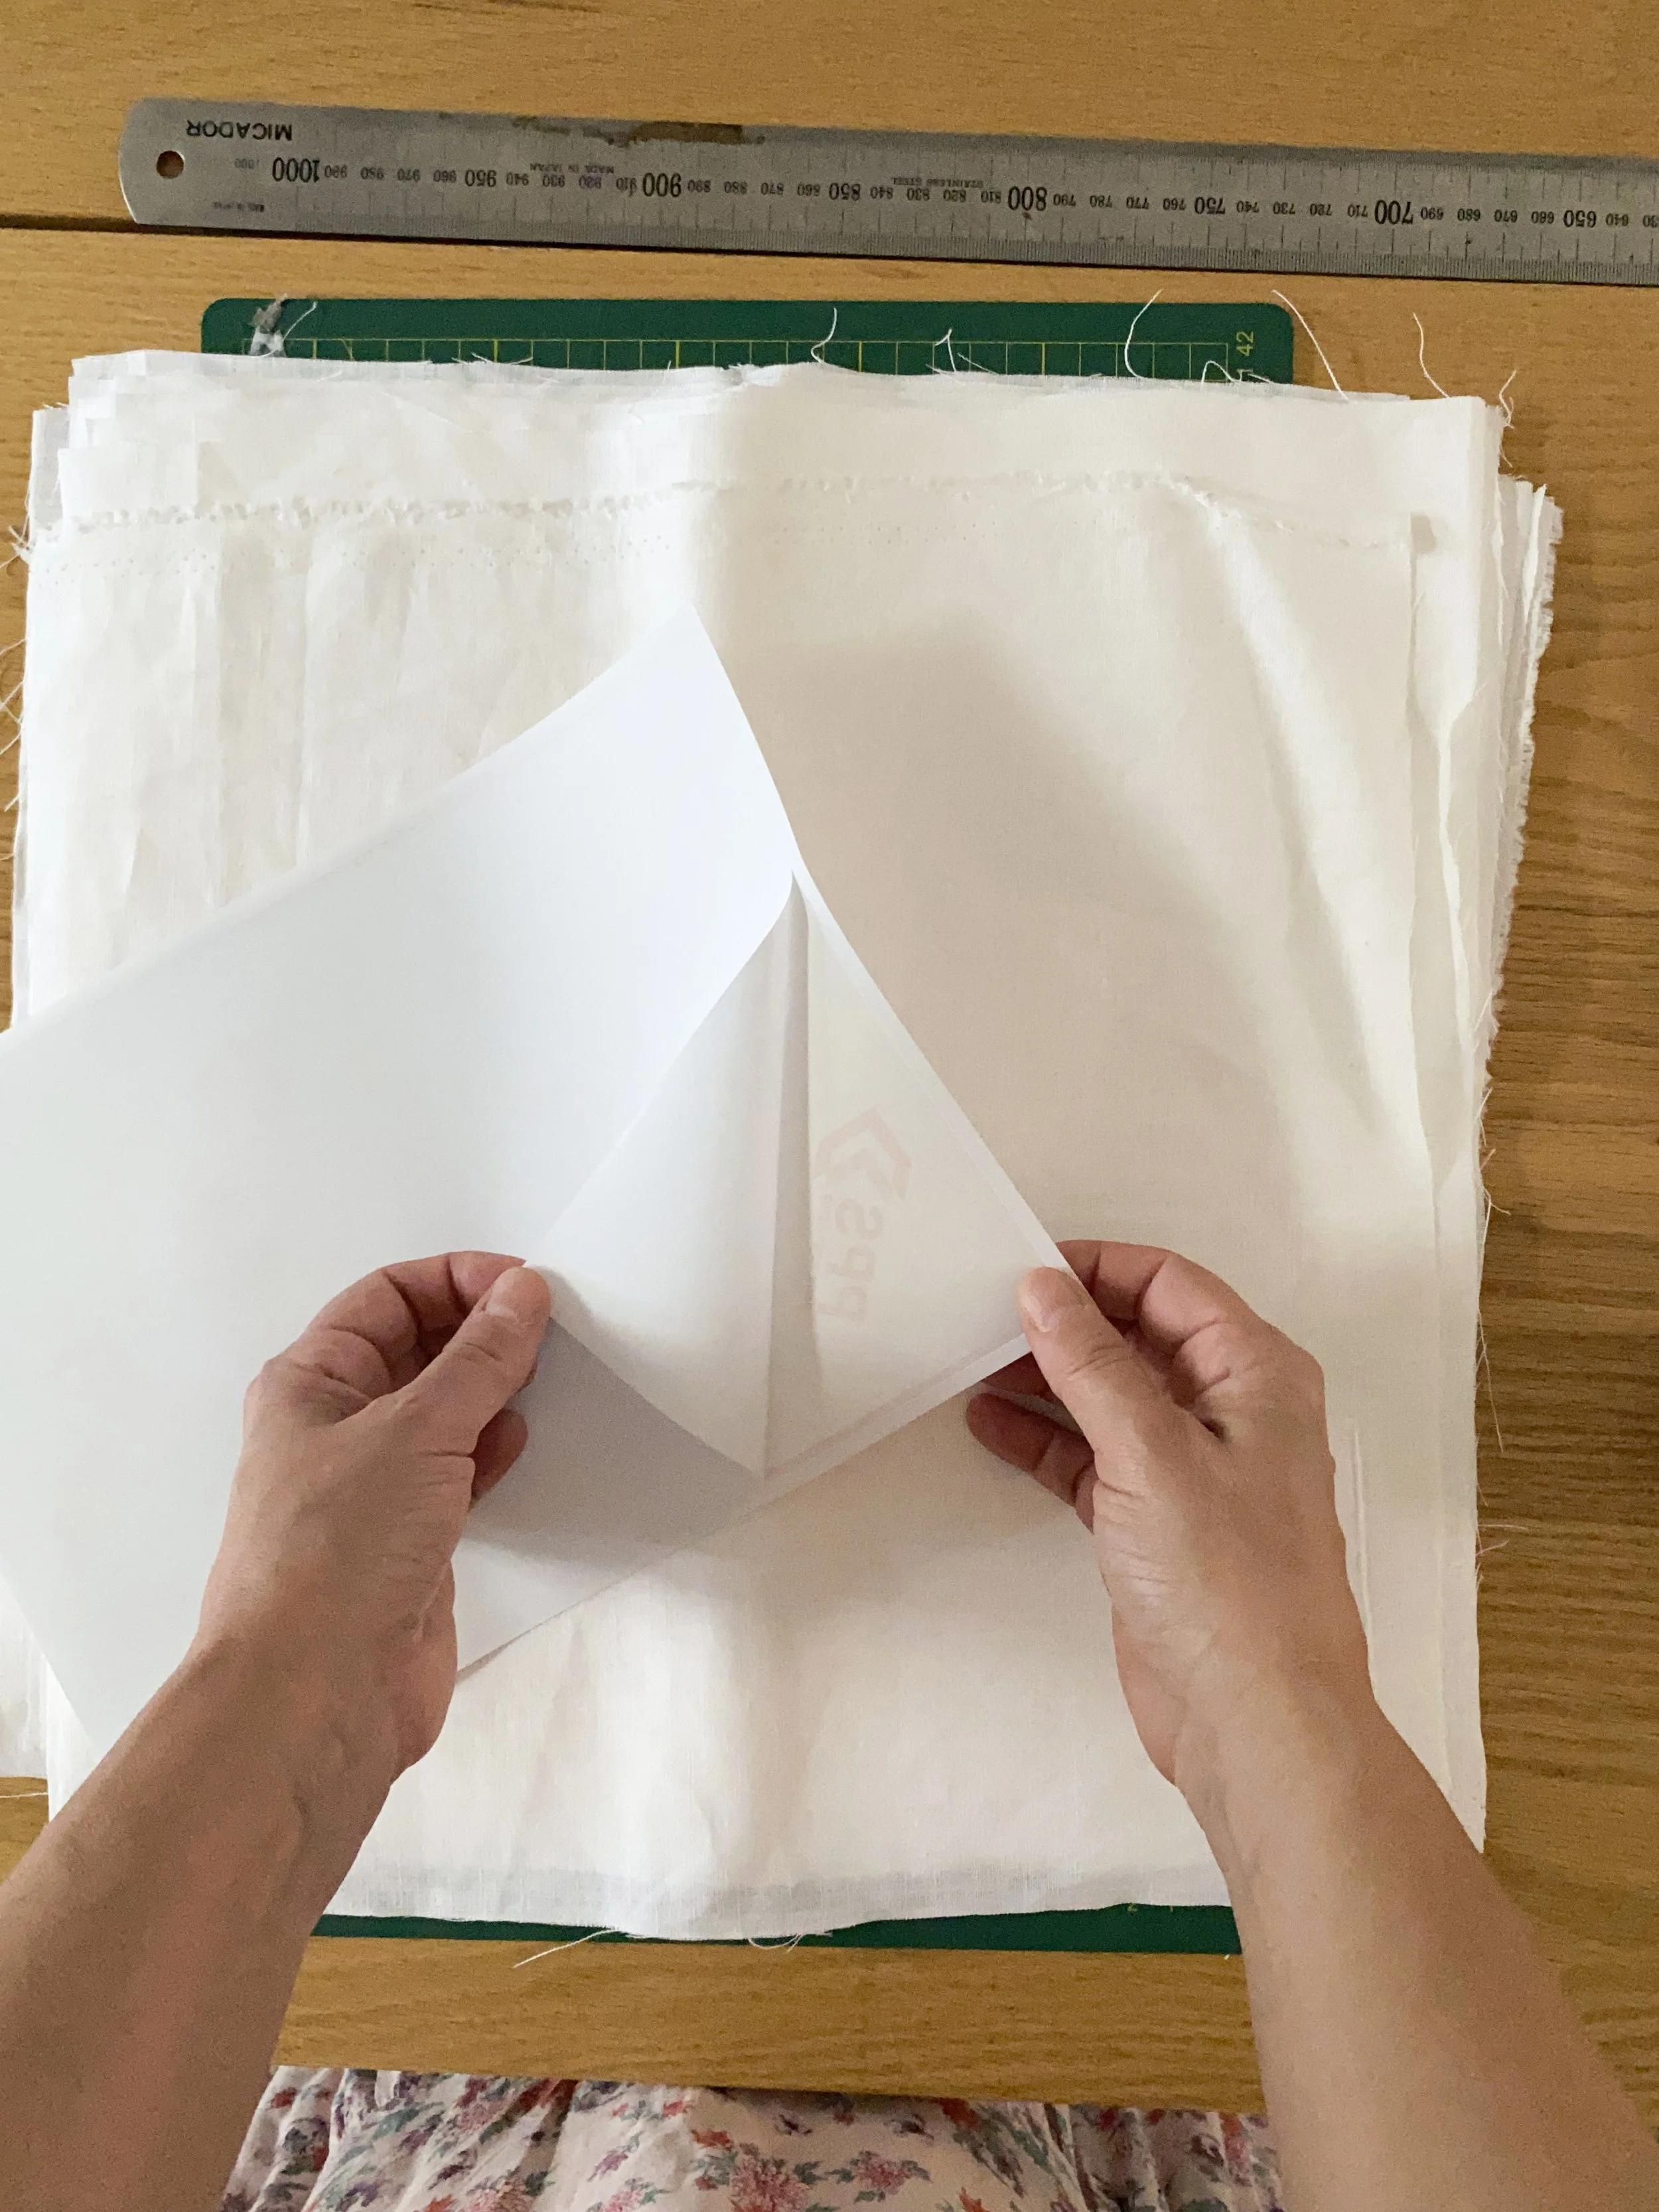
3. I peeled the label off its backing.
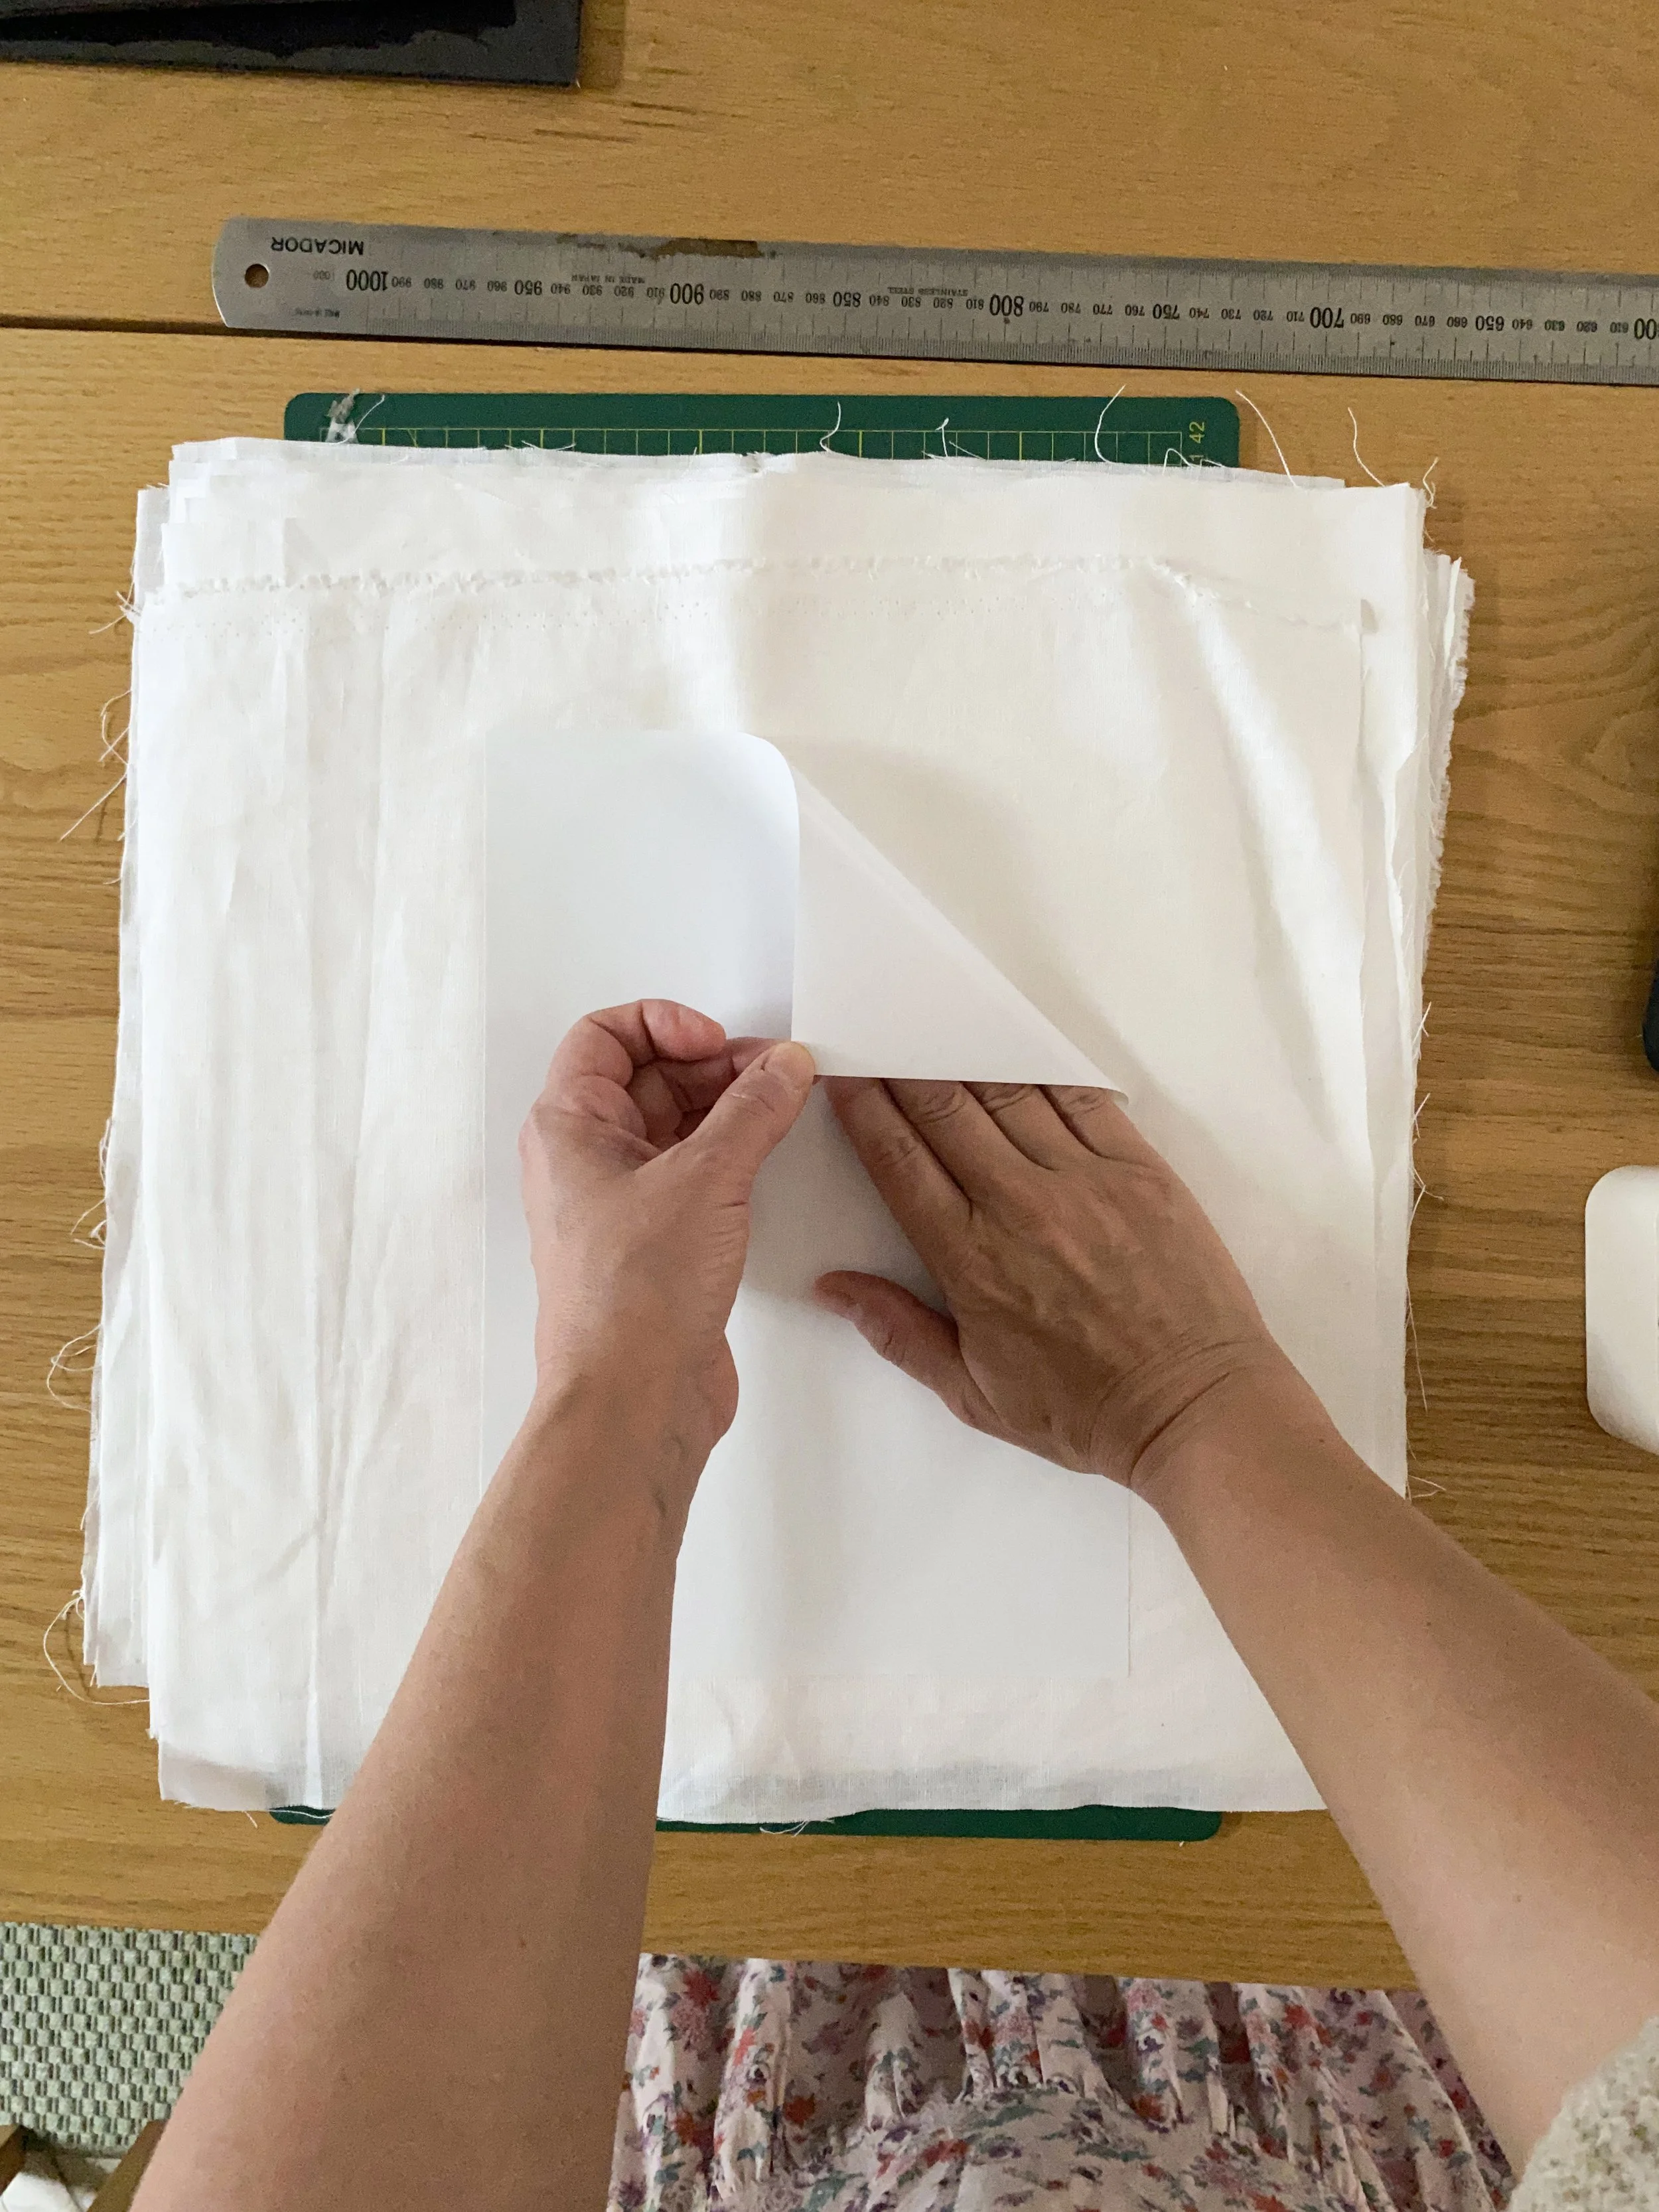
4. And stuck it in the middle of the stacked fabric pieces.
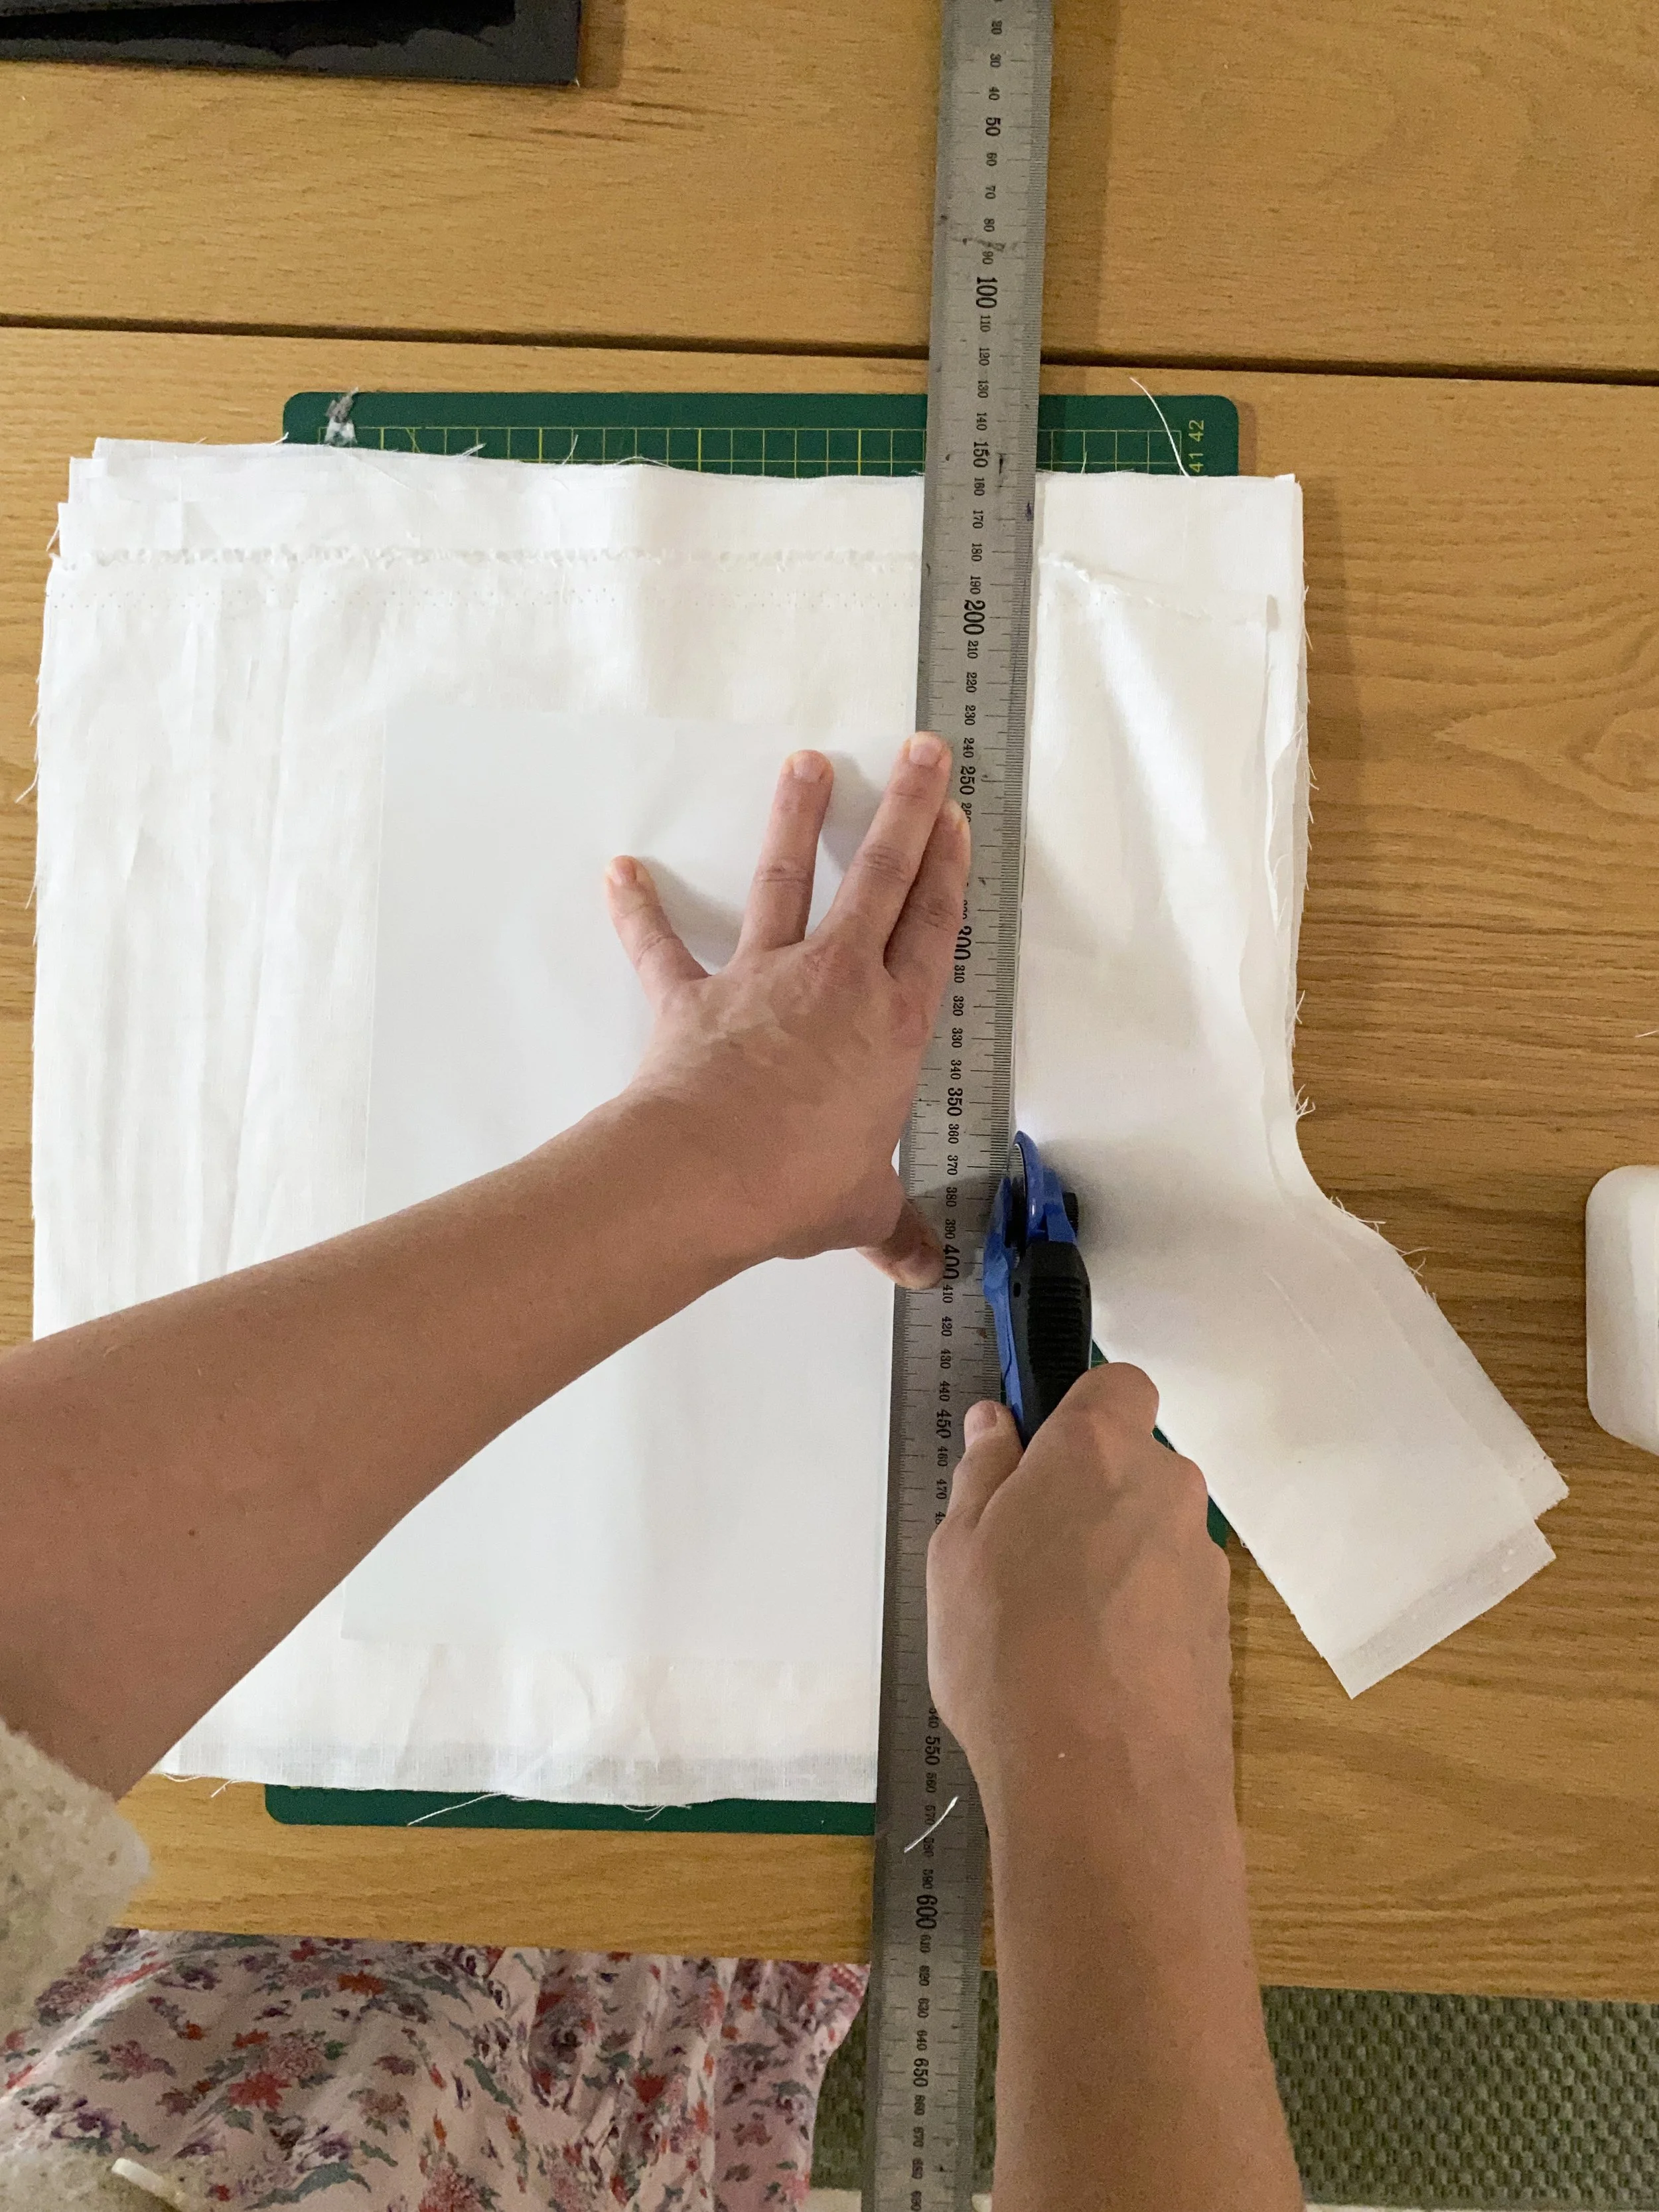
5. Then I trimmed around the label with a rotary cutter.
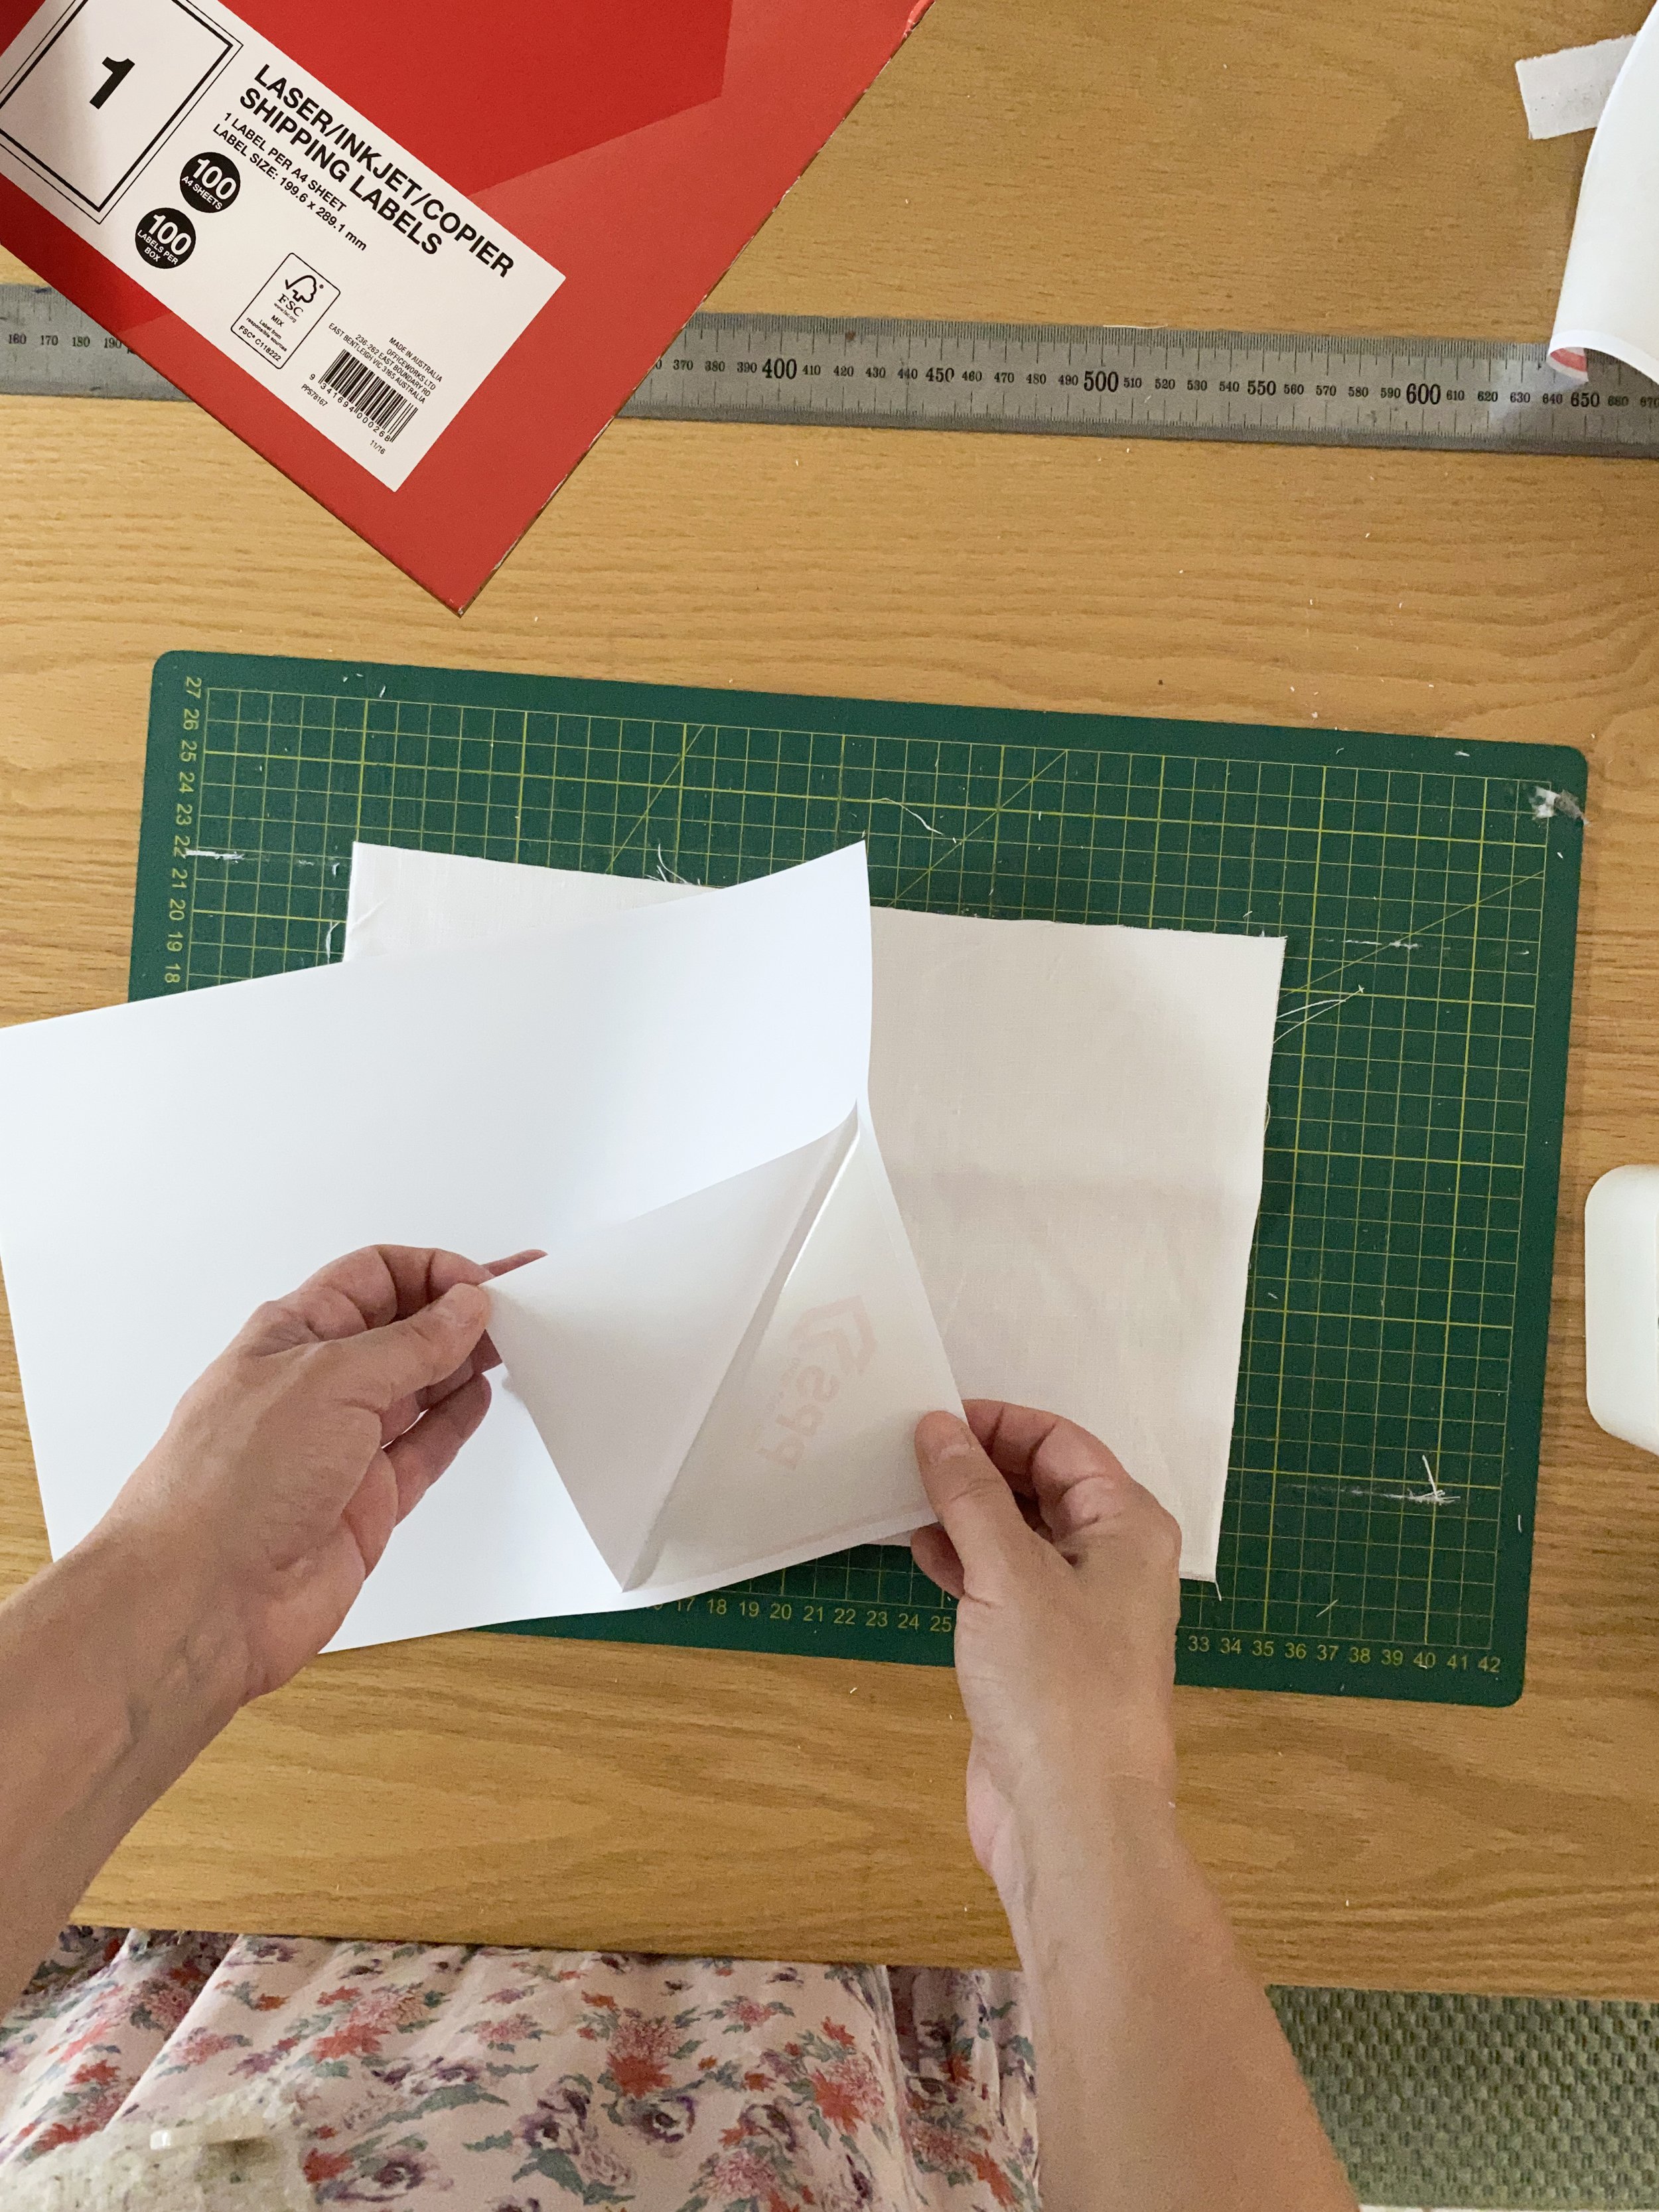
6. The top layer of fabric was now stuck to the label and was ready for the printer.
7. I used more labels for the other pieces of fabric so i had several ready for printing.
8. Sticking on the labels onto pre-cut pieces I had to be more precise, but it wasn’t hard.
9. In places there were bubbles which I smoothed out.

10. Now it was ready for printing. You’ll have to put it into your printer whichever way it’s set up so it prints on the fabric side.
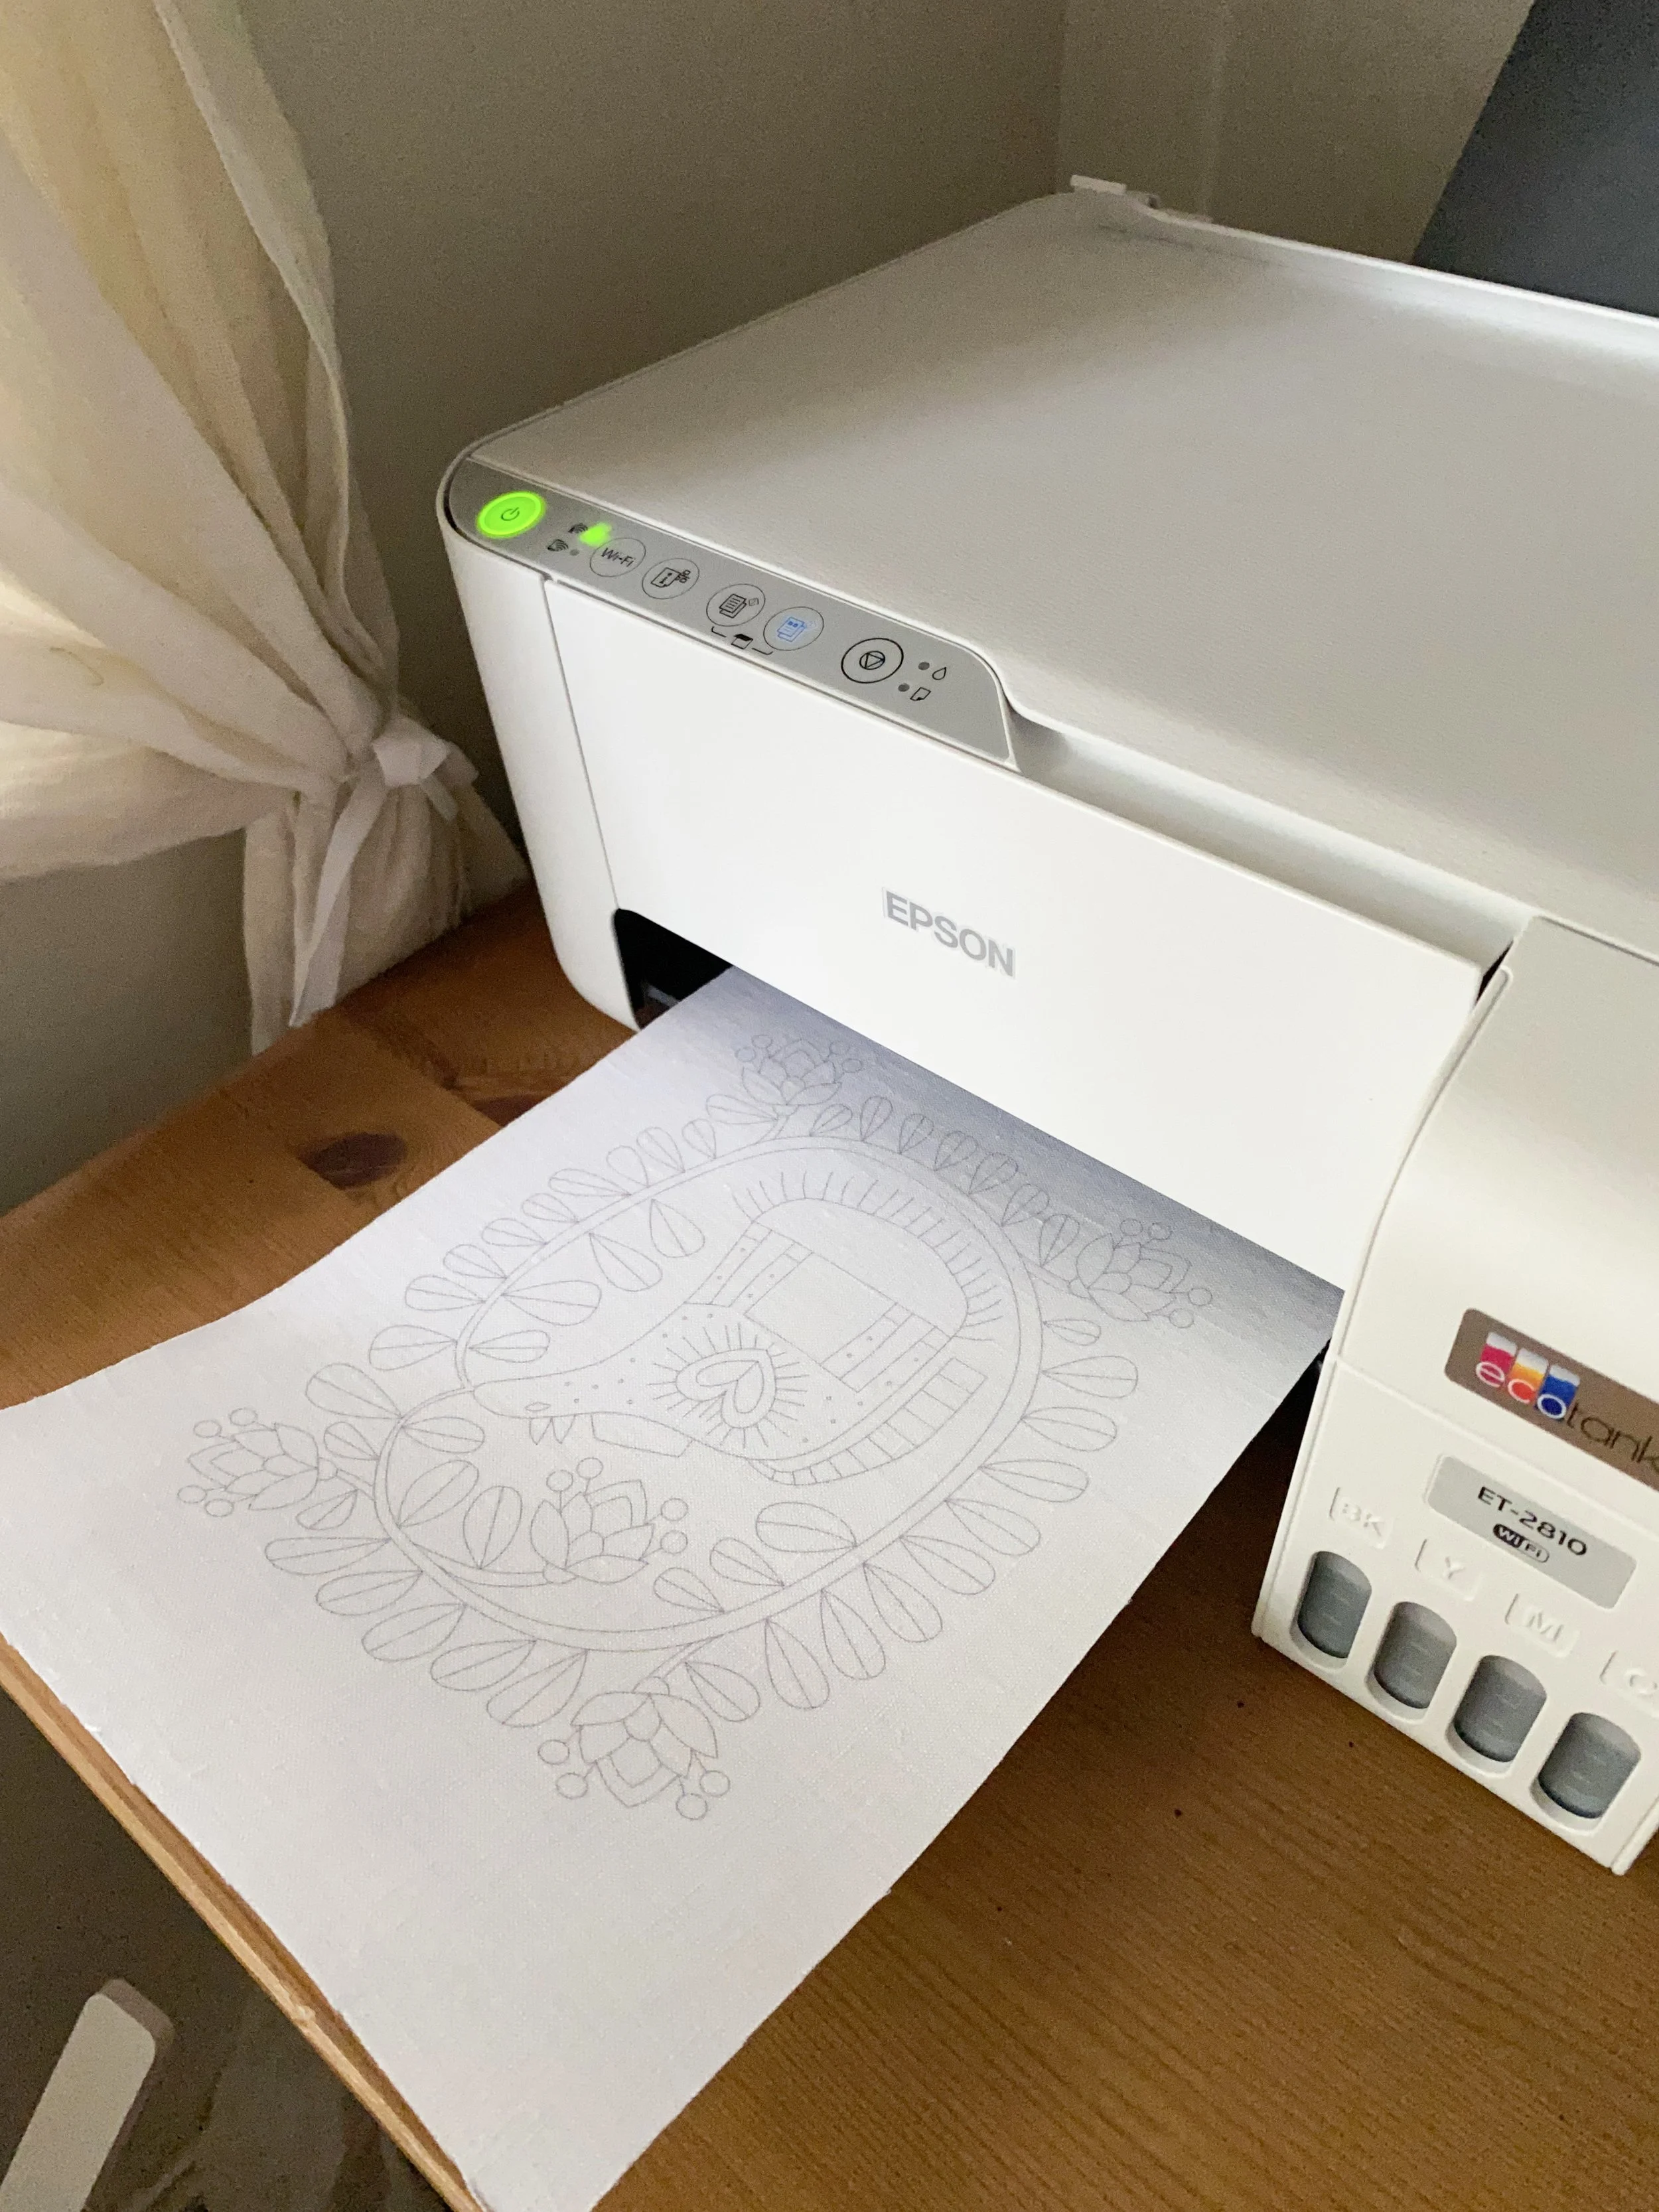
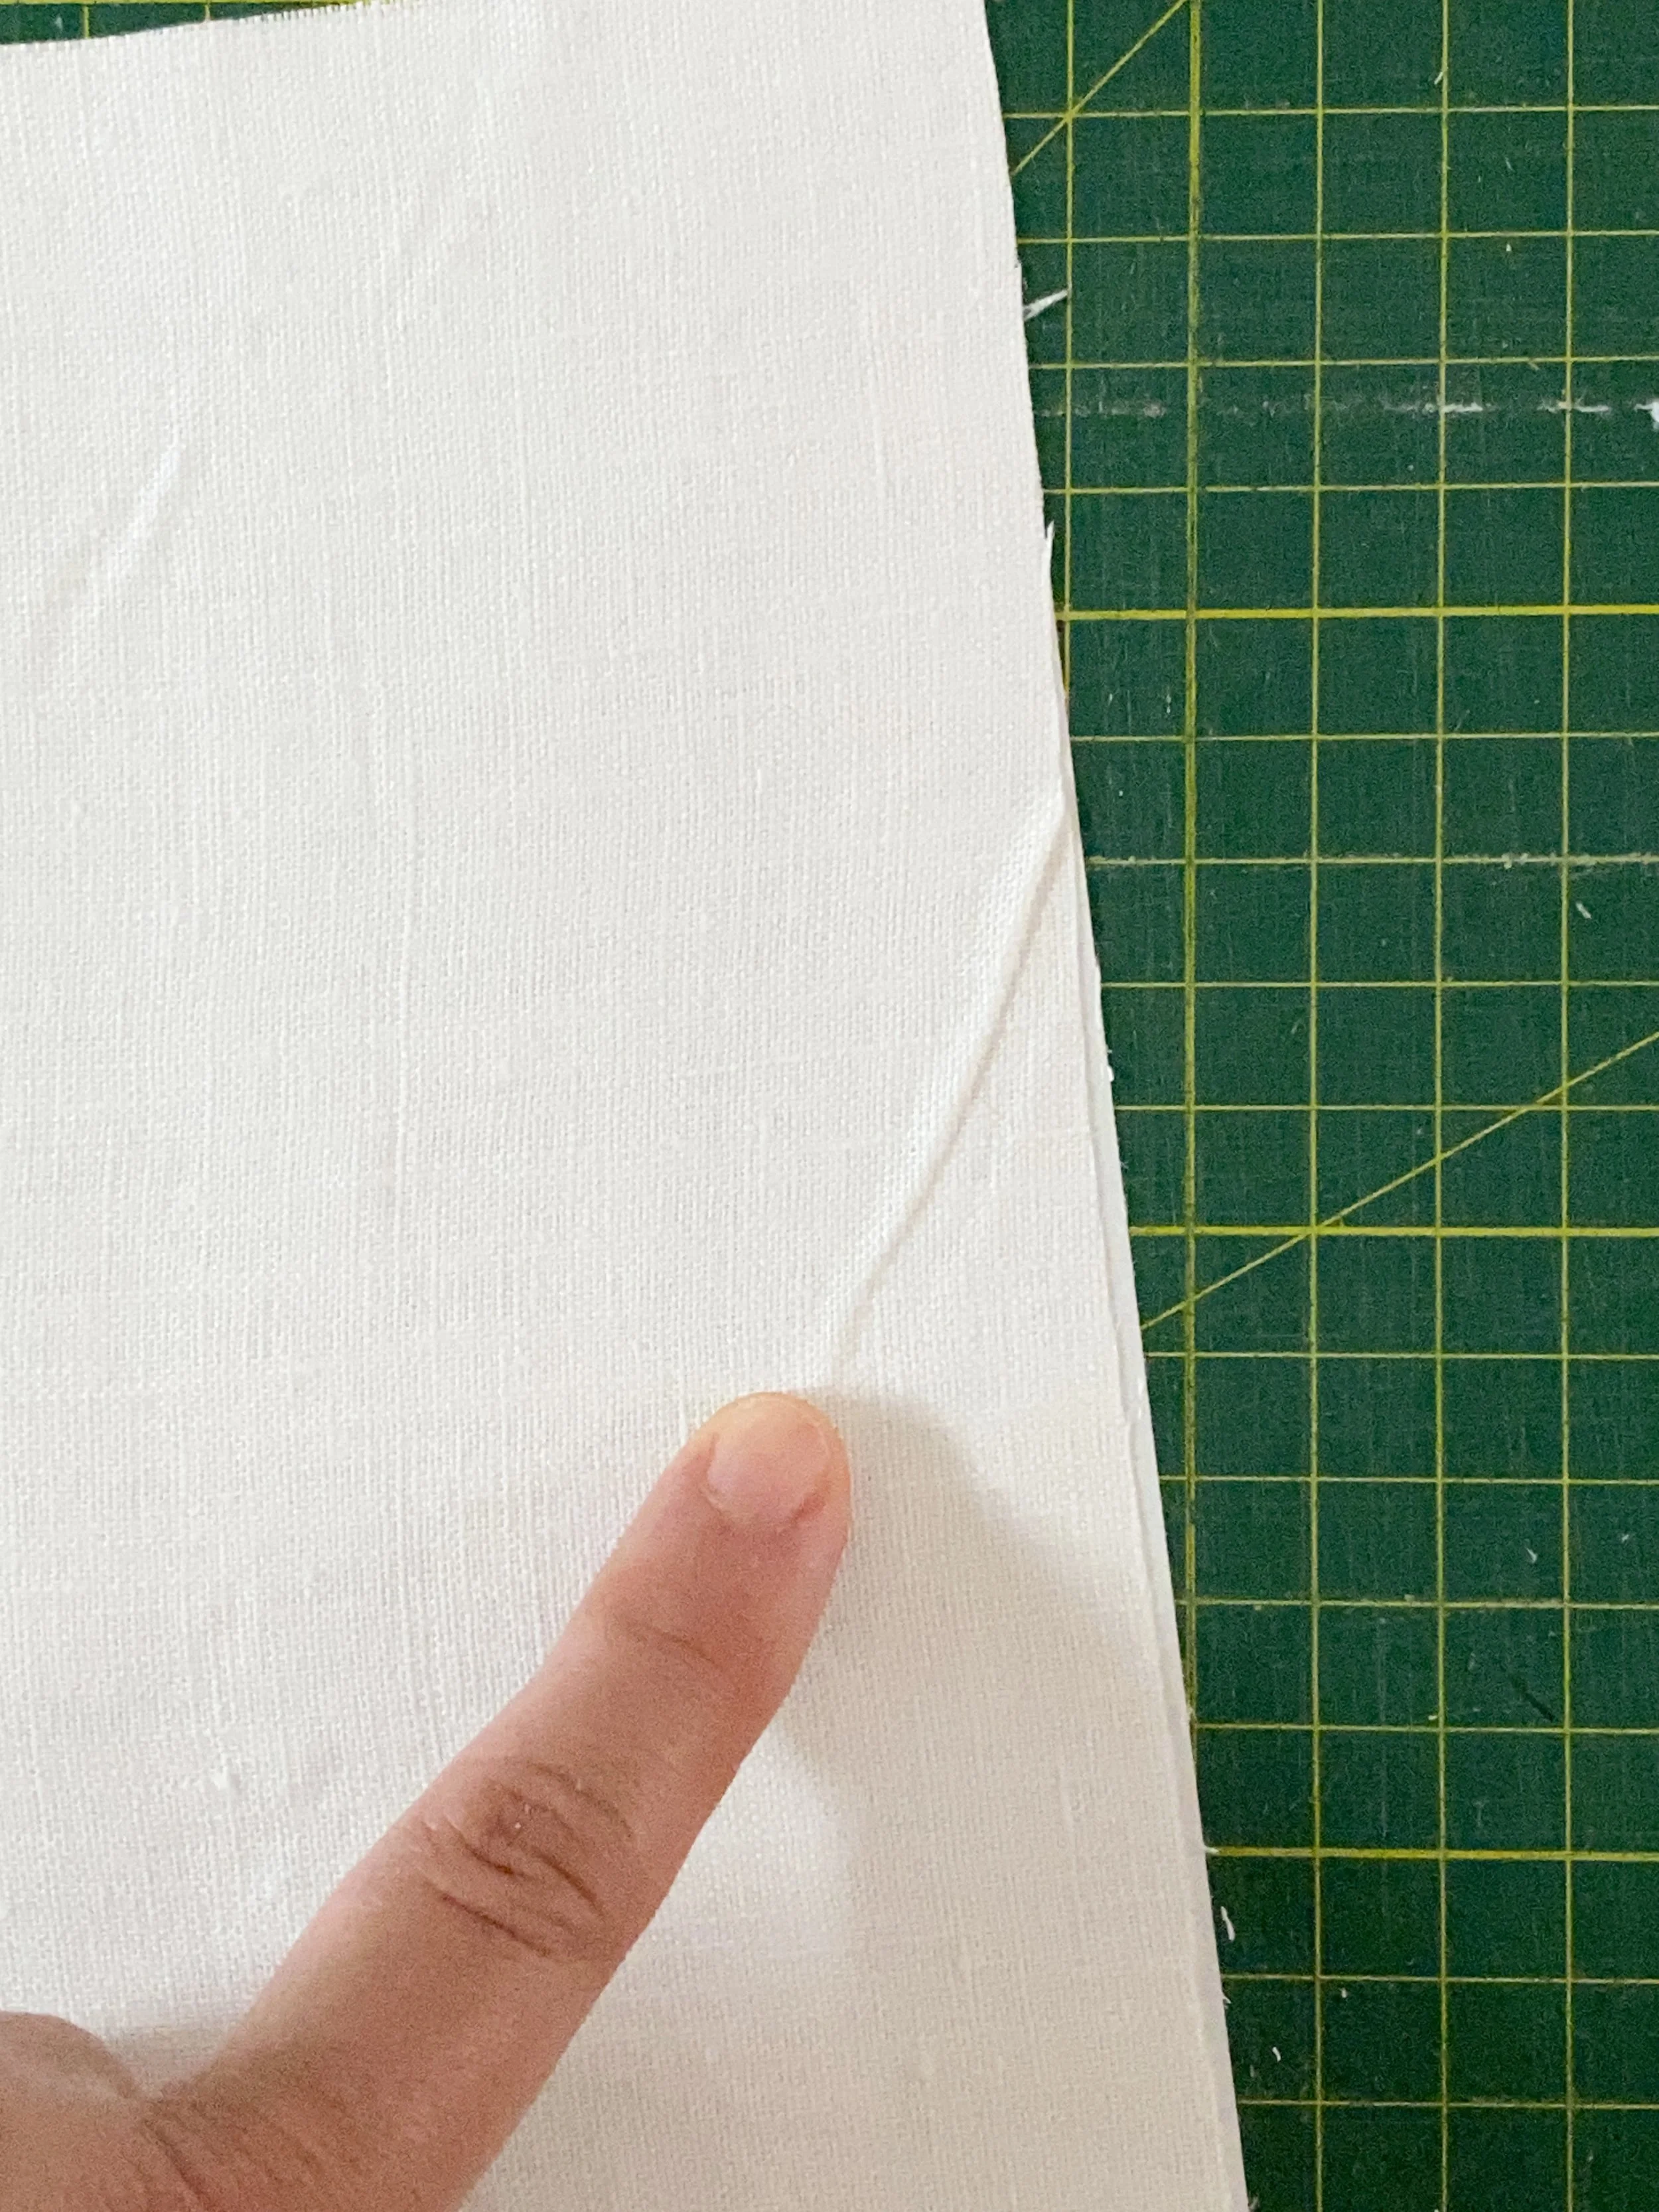
11. It turned out so beautifully! Sharp lines and the fabric didn’t bubble or get damaged at all.
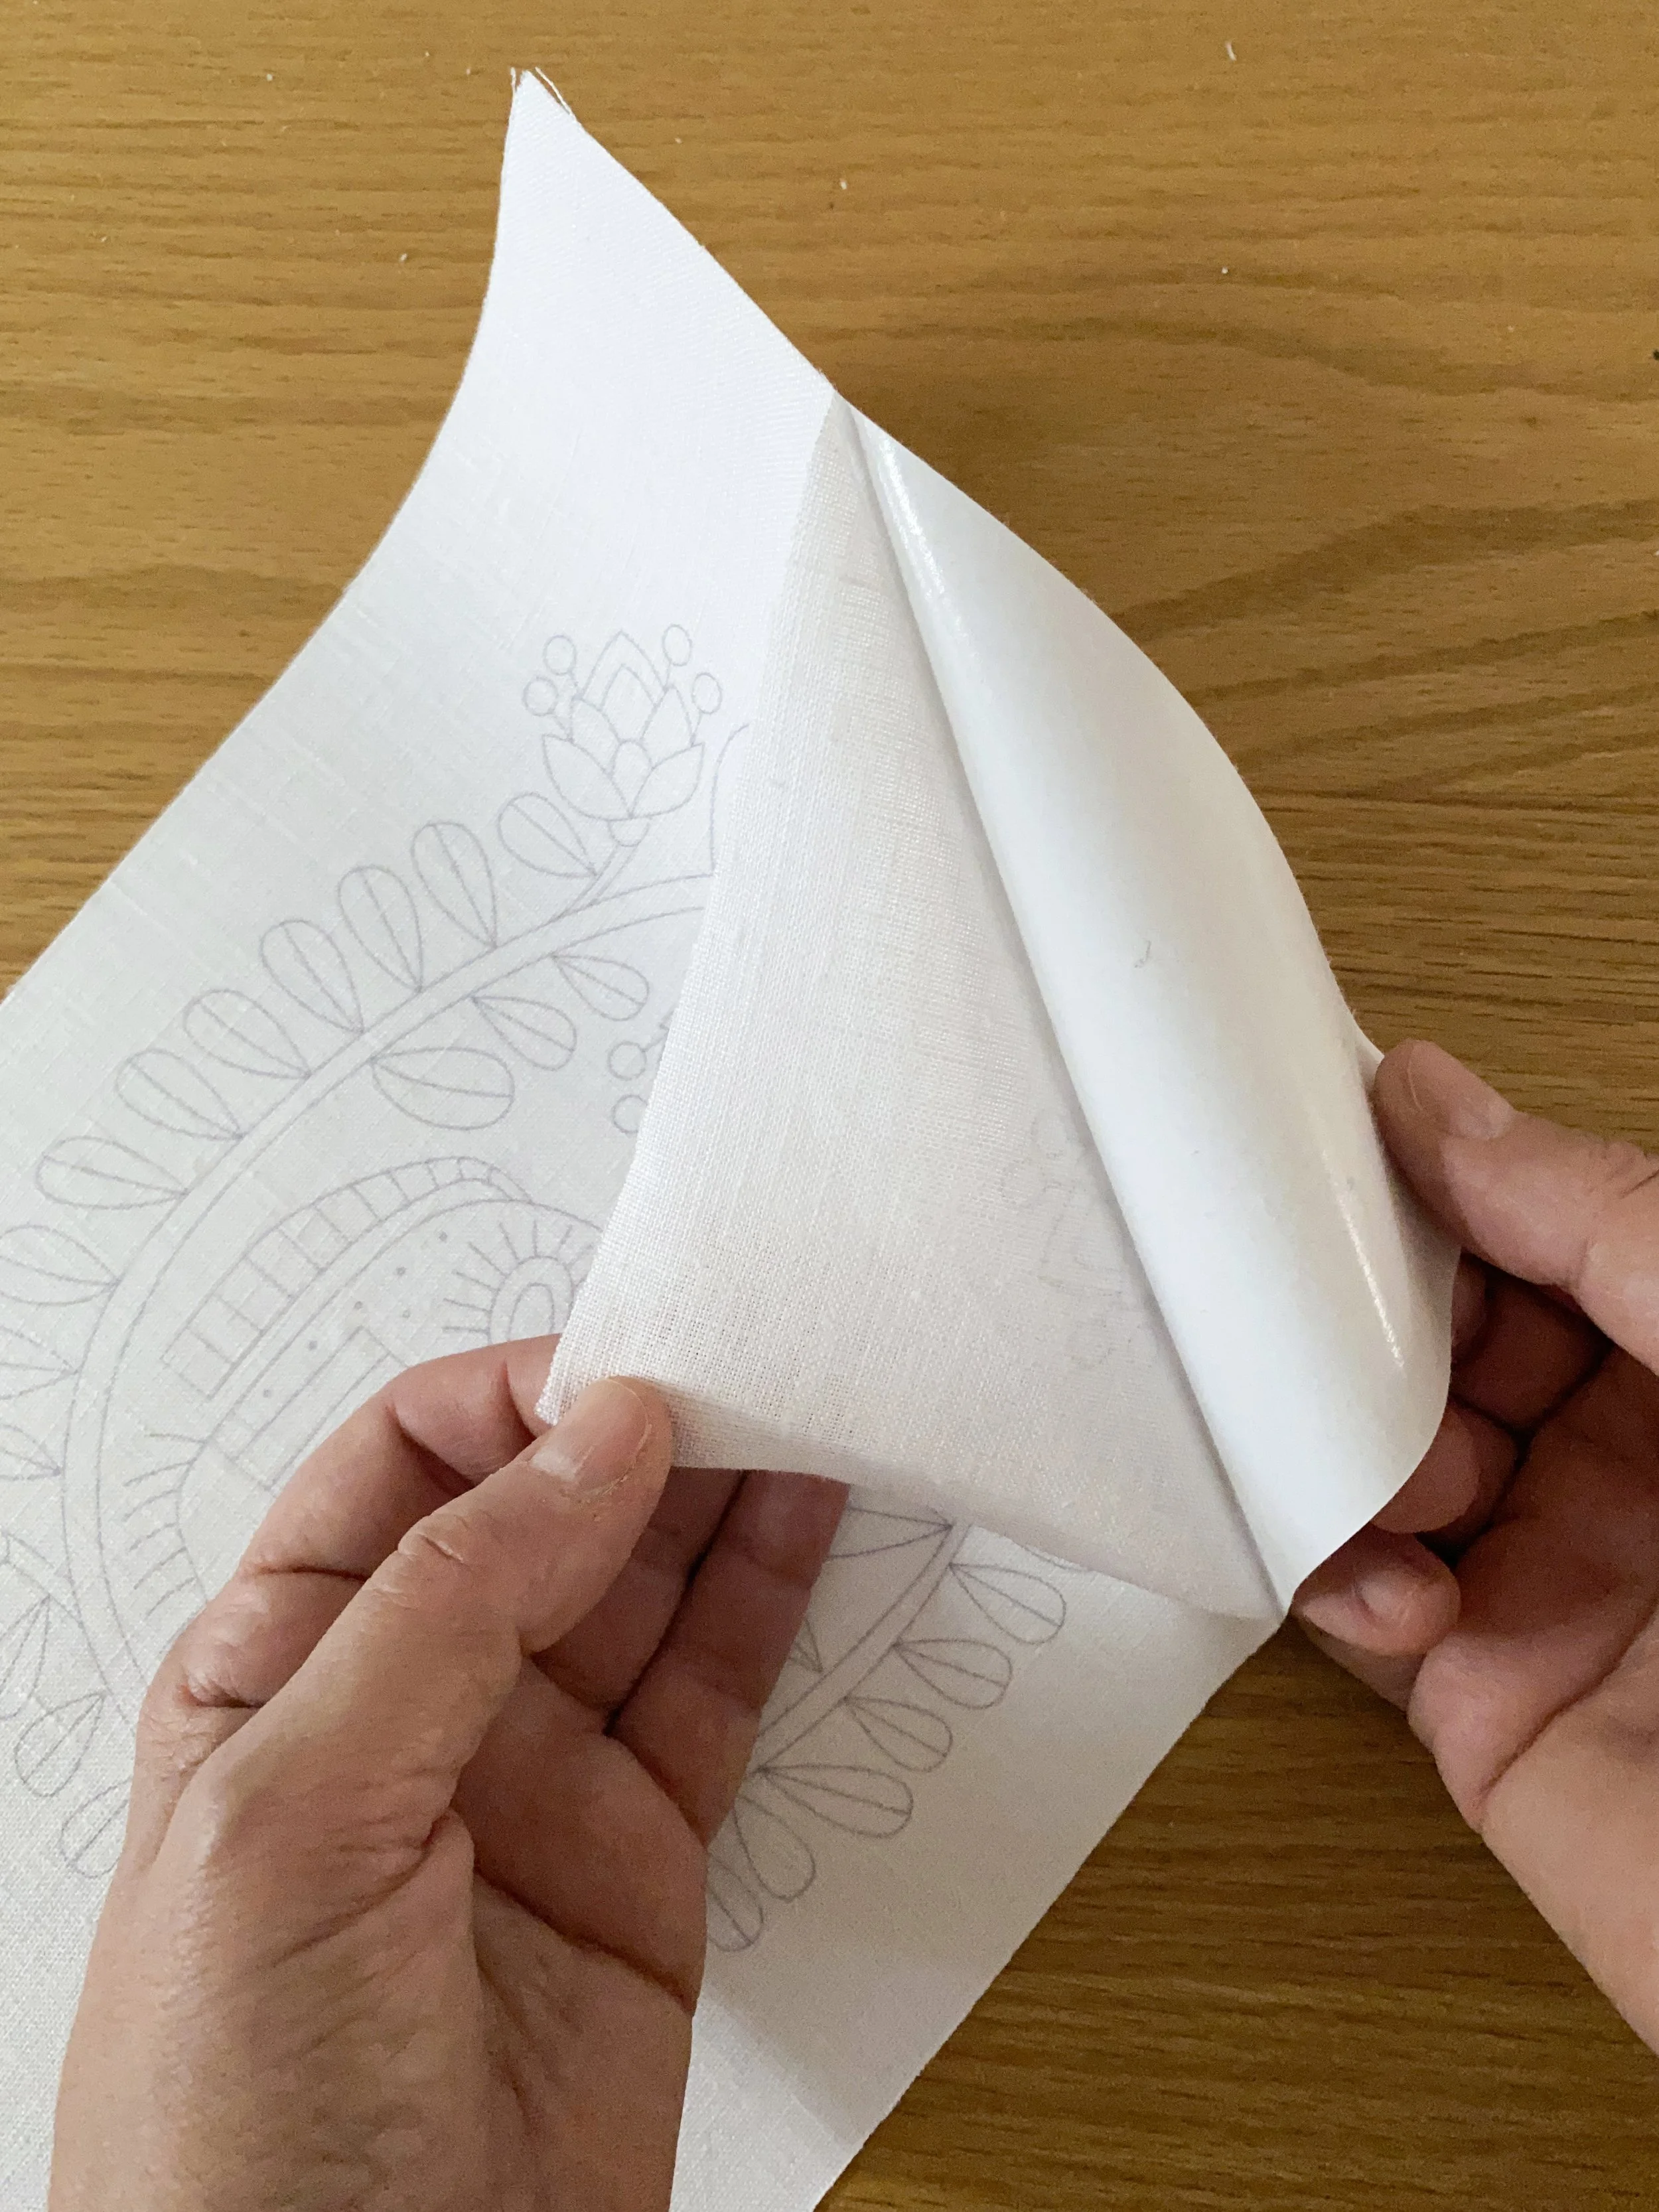
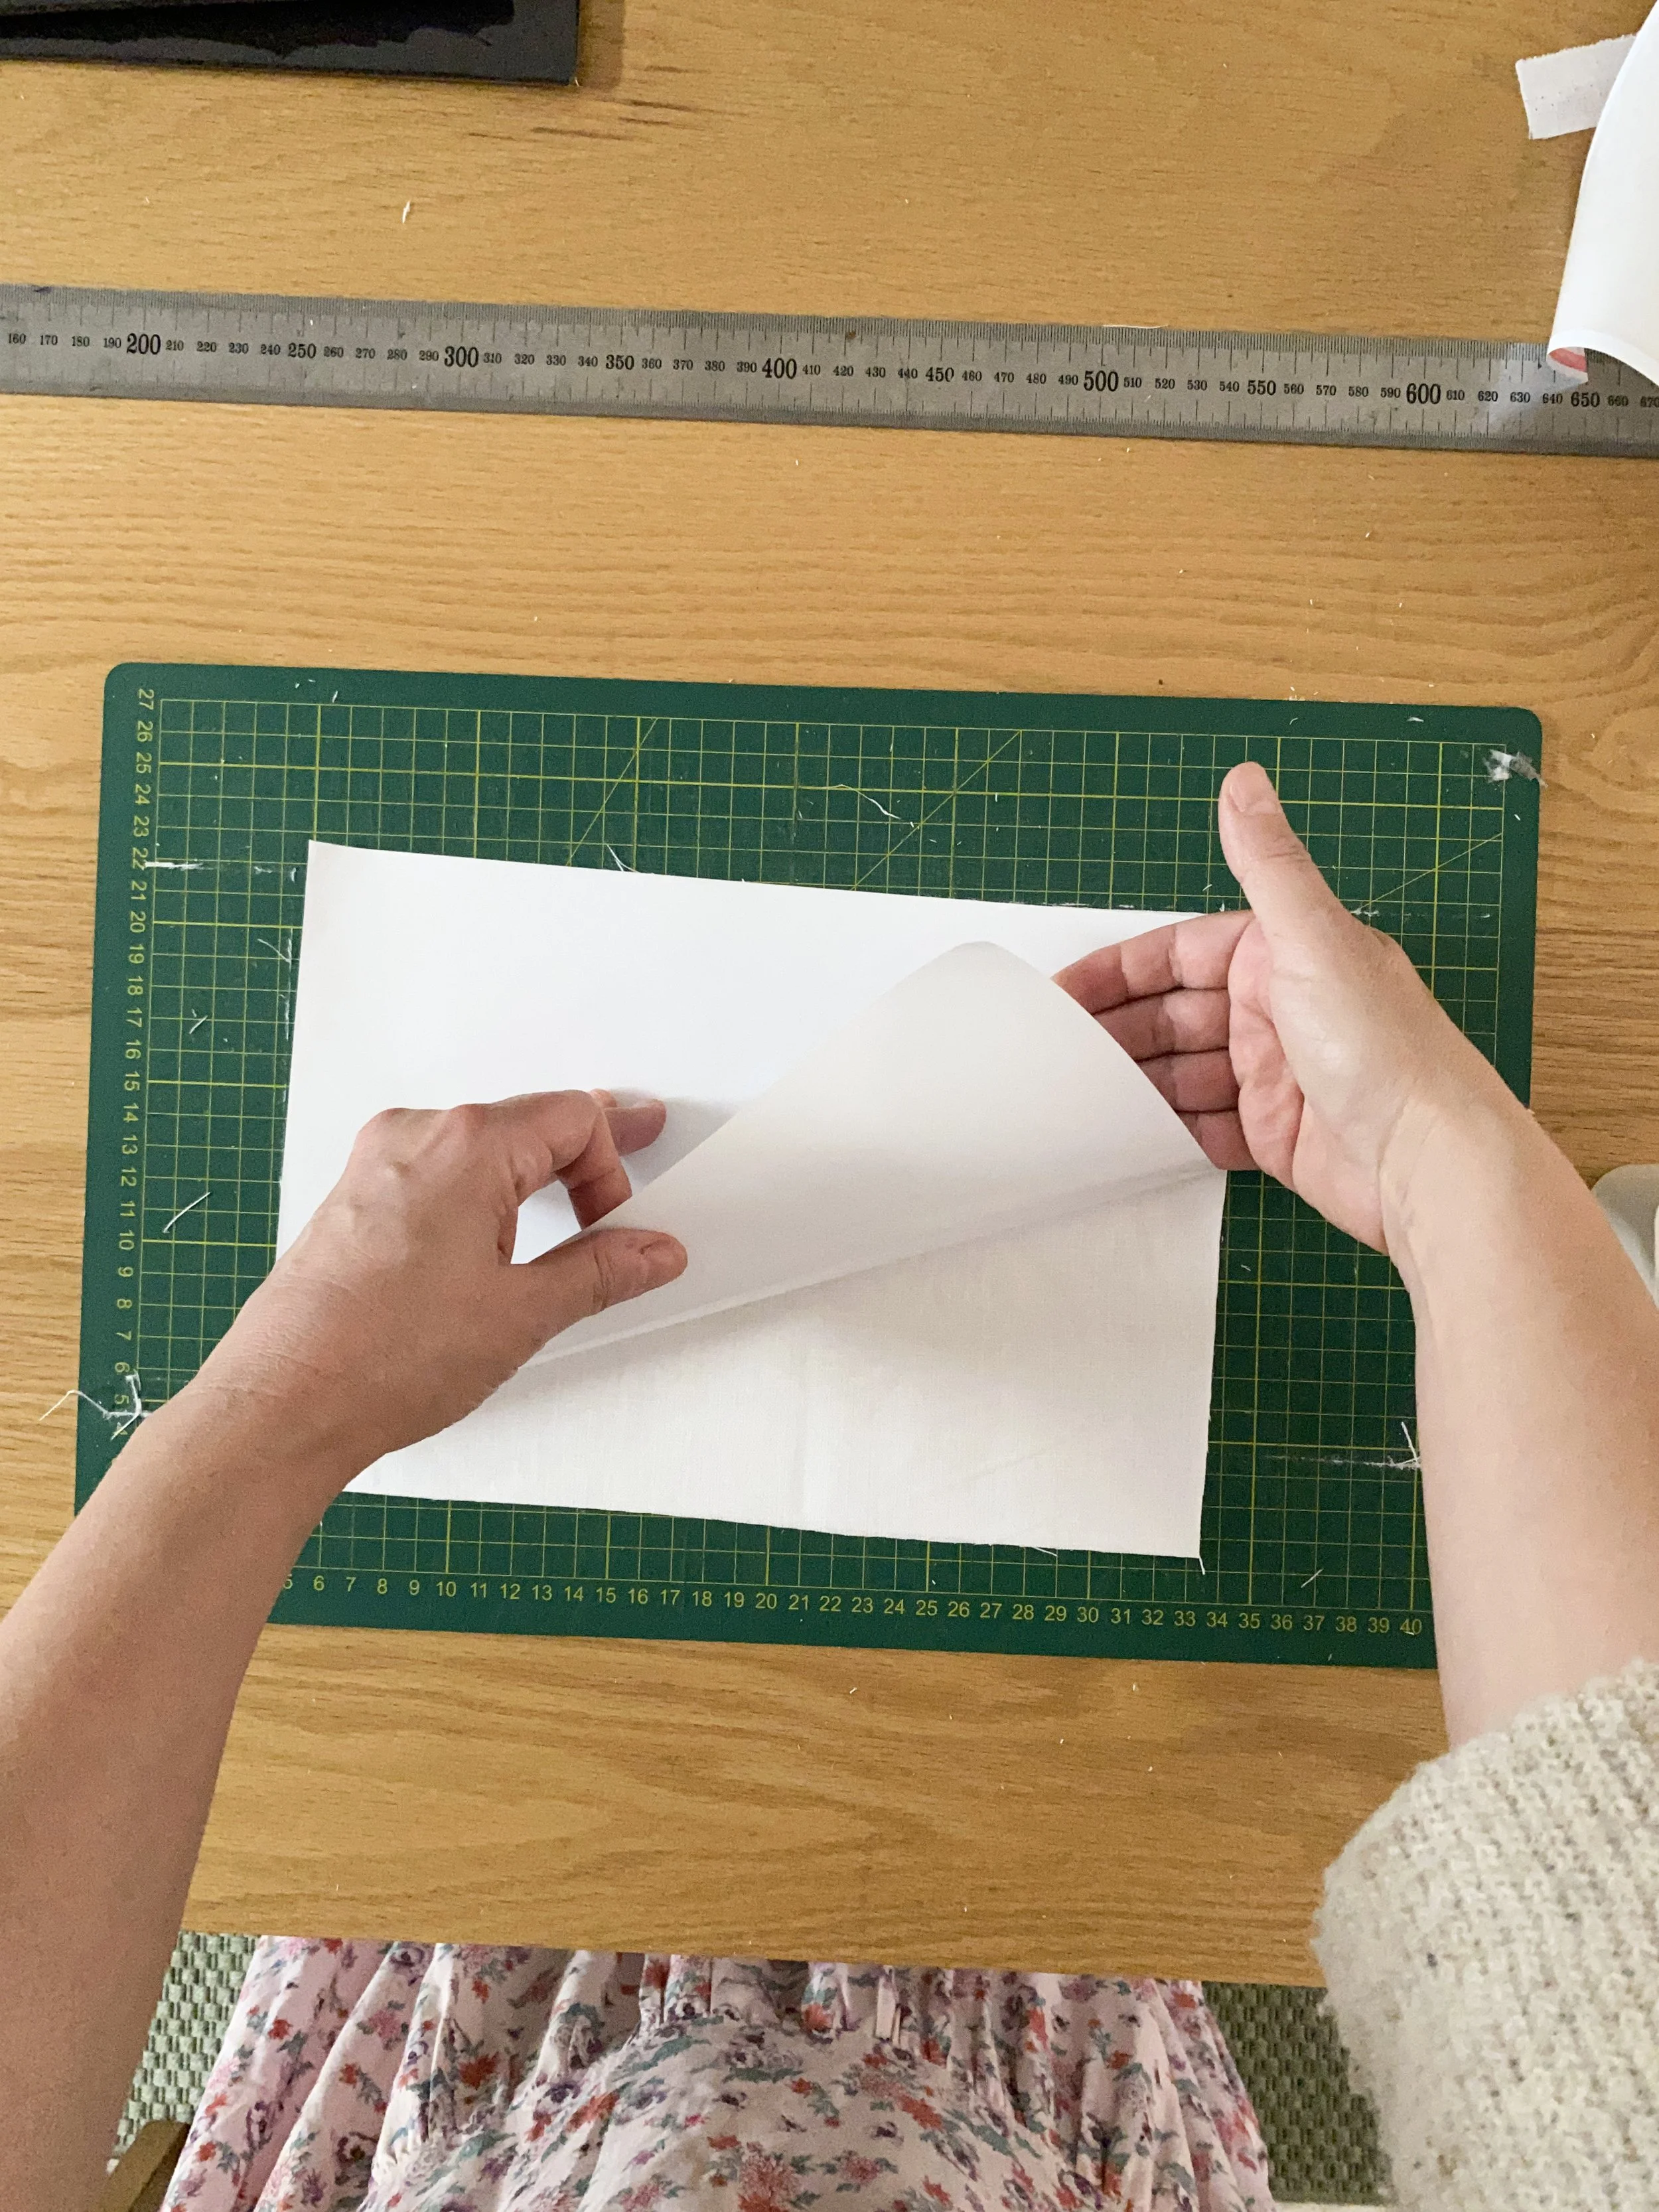
12. I peeled off the fabric from the sticky label.
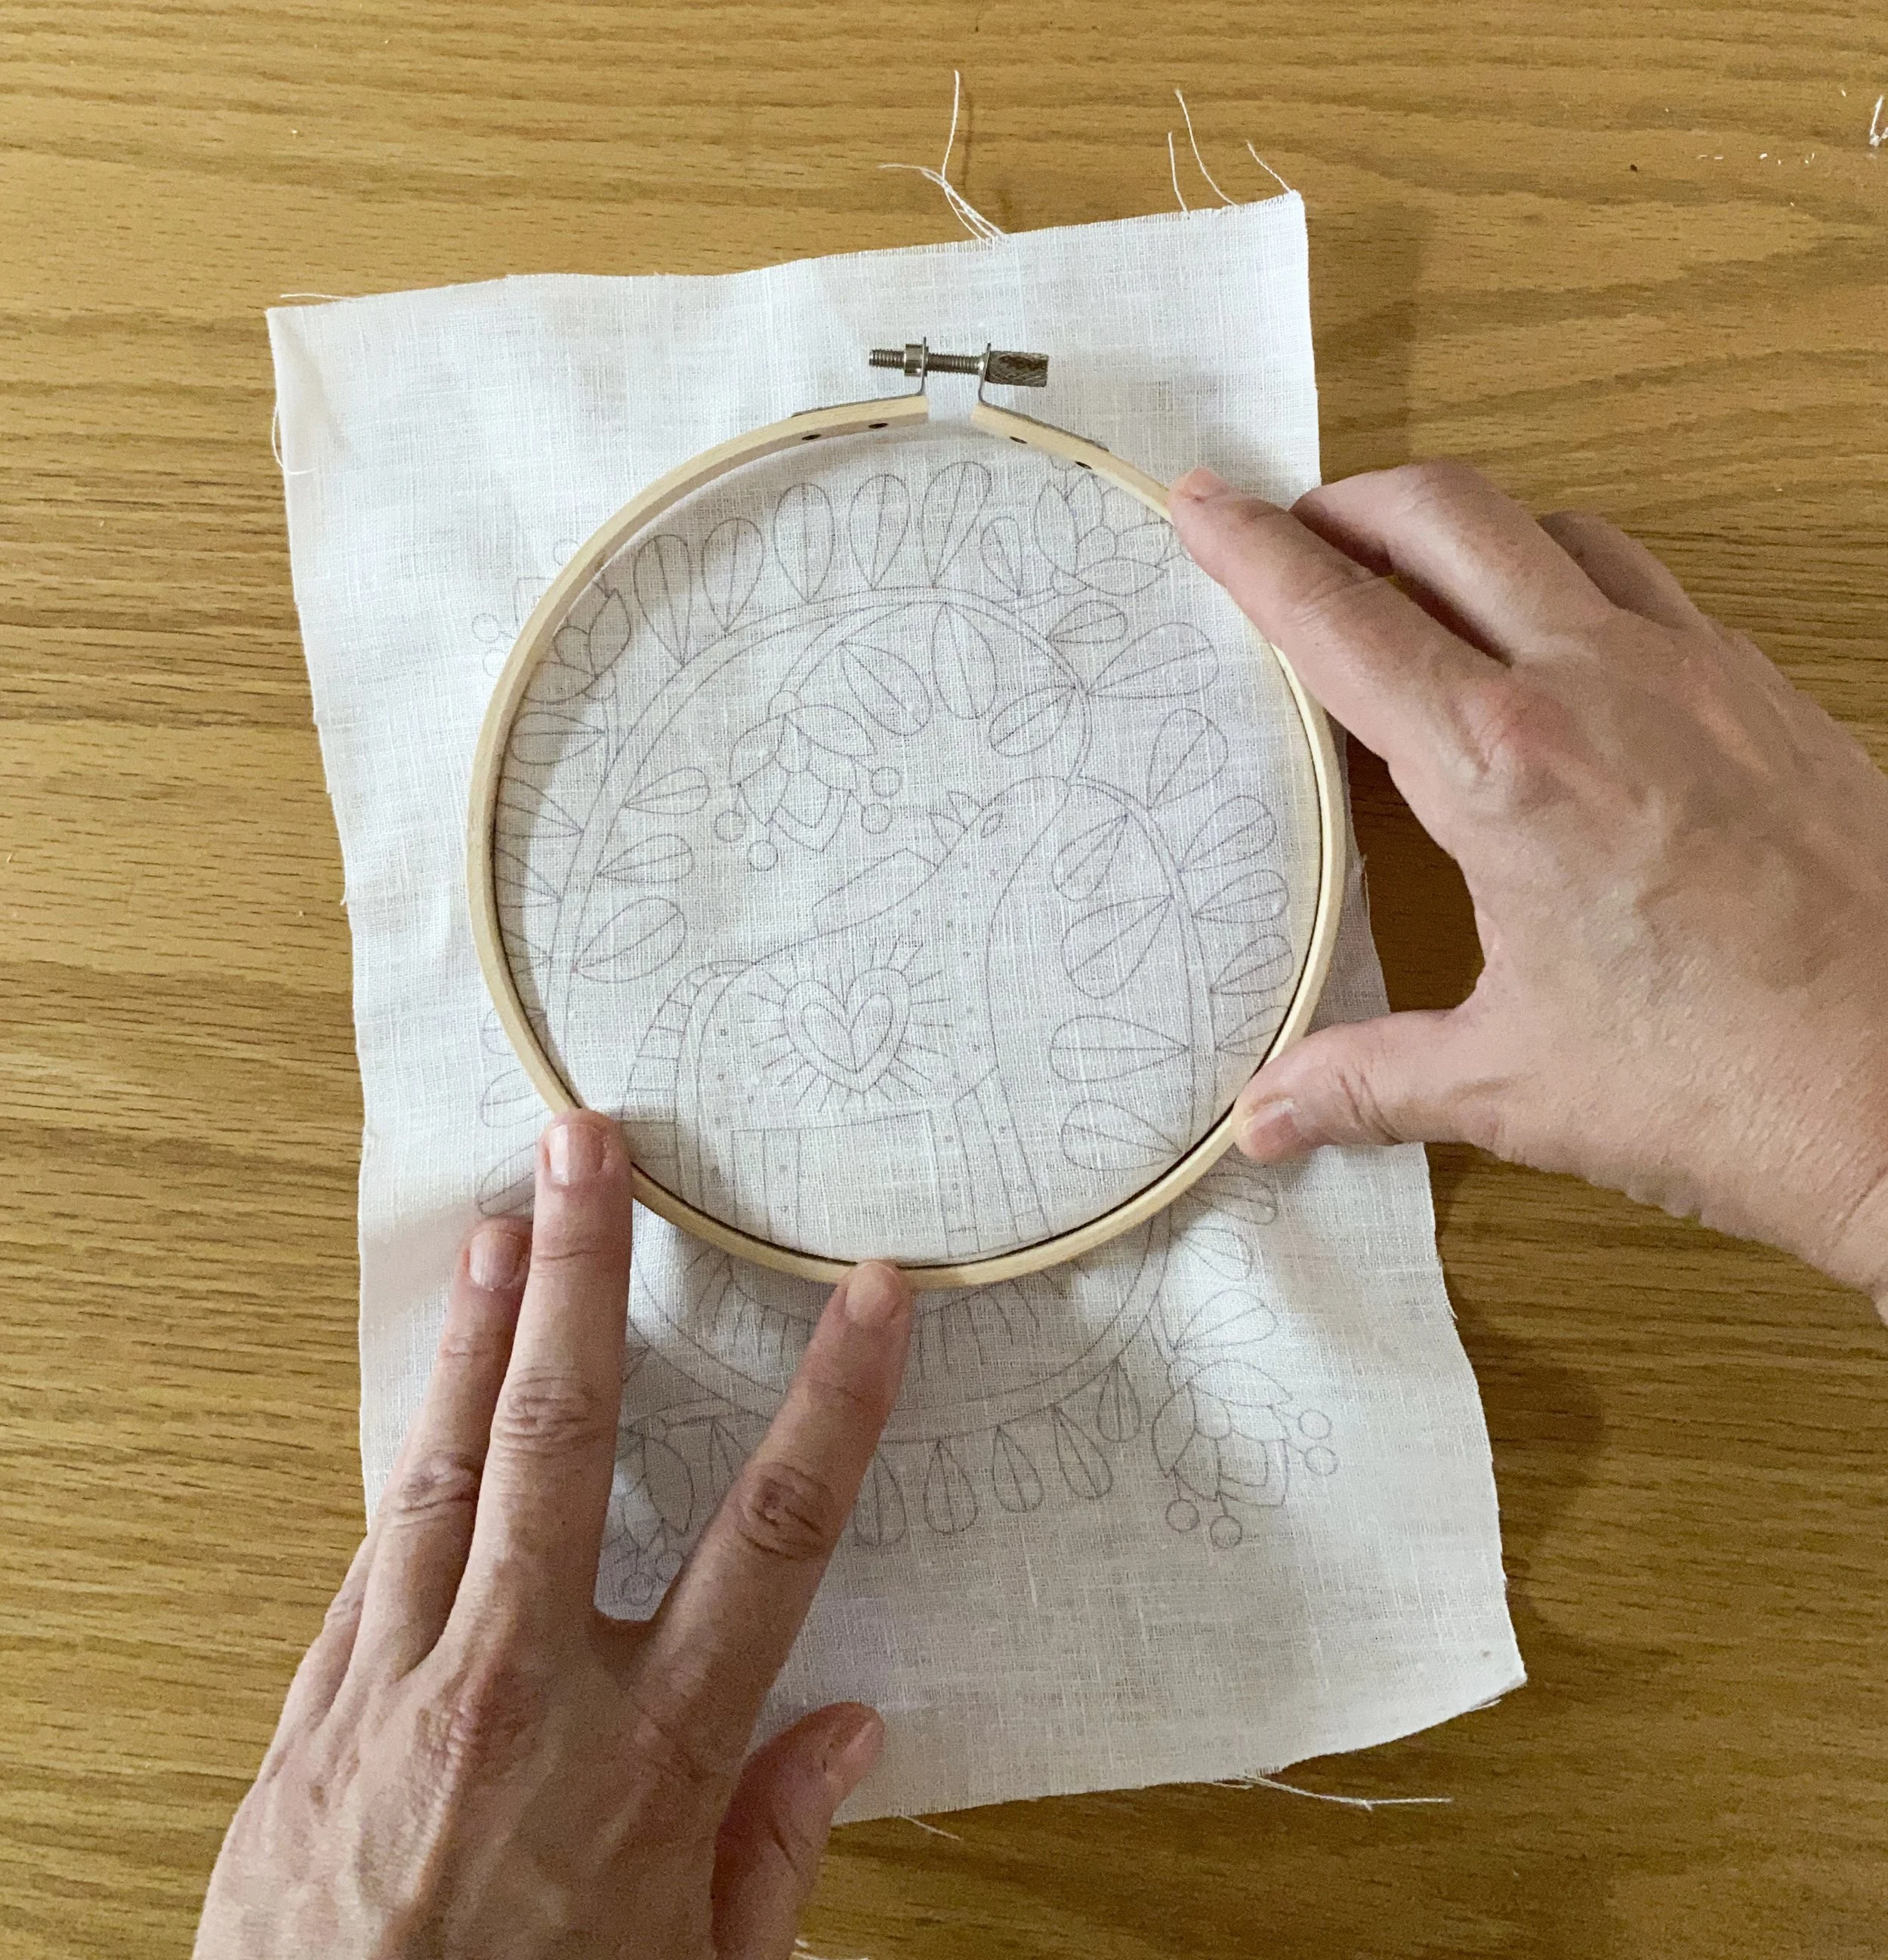
13. Now it’s ready for embroidery!
I hope you found this helpful. I would love to know what you thought and if you’ve tried this method.
Obviously it’s limited to the size of the printer paper but it’s still a great solution!